Key Takeaways:
- You don’t need instant coffee on the trail – there’s dedicated gear for it now, from ultralight pour-overs under half an ounce to hand-pump espresso makers that pull real crema.
- The right coffee trail setup depends on how you hike. Counting grams on a solo thru-hike is a different problem to brewing for a large group at camp.
- Fresh beans beat good gear. Buy on roast date rather than best-before, and match your grind to your brewer.
- Above 2,800 m water boils too cool to extract properly, so brew straight off the boil and steep it longer.
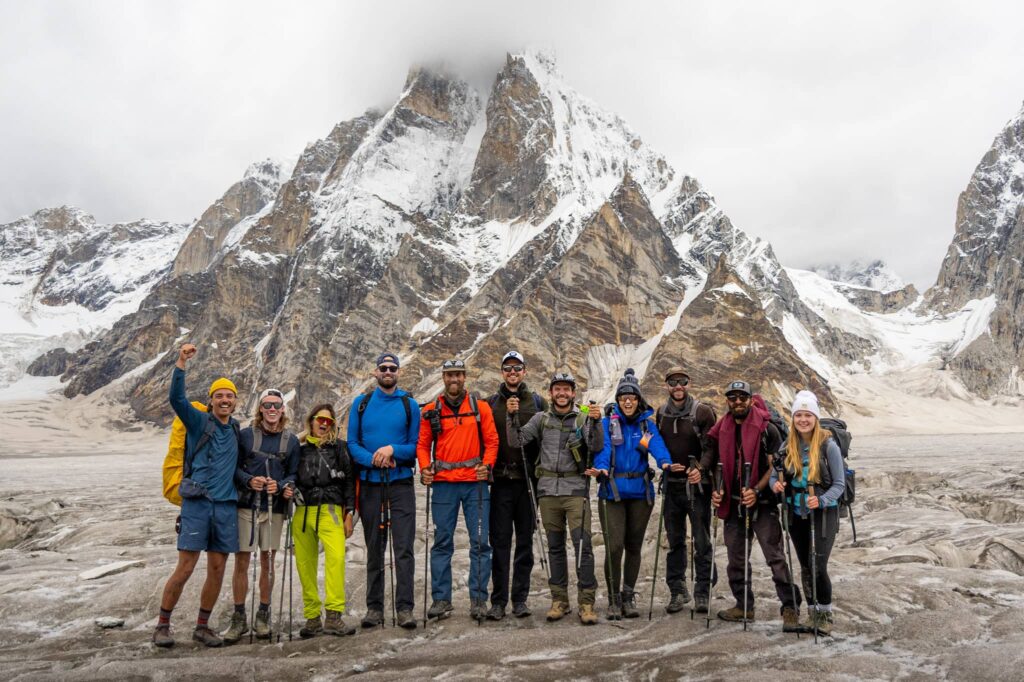
The summits and the high passes get the spotlight. But ask anyone home from an Epic hiking trip about their favorite moments, and a surprising number mention those slow mornings, laughing around camp with new friends they’ve known for six days, waiting for the coffee press to come around.
Tea has its place, and in half our destinations it’s the local drink and it’s excellent. But we’ll be the first to admit, some mornings you just need coffee, especially before a day on the trail.
In this article, we’ll break down every way to make coffee on the trail, what altitude does to your brew, and how to get more out of whatever setup you decide to carry. Whether you’re counting grams on a thru-hike or heading out on a supported expedition with a duffel on a mule, we’ll offer recommendations on how to make coffee while hiking, with methods and gear we’ve used and tested ourselves.
Why We Can’t Live Without Good Coffee
Coffee is a big deal for us. It’s been part of our expeditions since the beginning and is a huge part of the culture here at Epic. In fact, you could say coffee helped build this adventure company. If you’ve ever met our founder Chris, you’ll know the man runs on it, and a fair few of our best trips started as conversations over a pot that had already been refilled twice.
We’ve brewed fresh cups of java in Himalayan tea houses, in remote Karakoram mess tents, in Mongolian gers, and many times, just on the side of a trail somewhere. What we’ve learned is that a hike is just not the same without good coffee.
A cheap and dirty sachet of Nescafé just doesn’t inspire anyone to get out of a sleeping bag and into the mess tent. But a good brew, shared with good friends, has a way of turning a cold start into the best hour of the day.
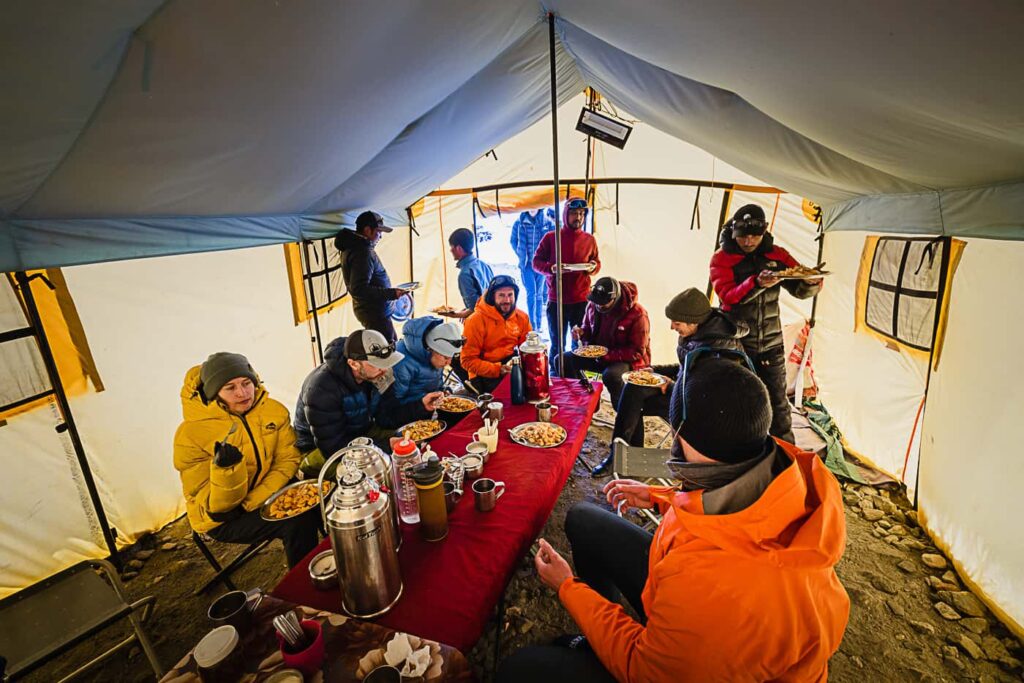
Good coffee takes the edge off a 5 am tent-knock, warms you from the inside before you’ve started moving, and makes the first climb of the day feel more reasonable. But most importantly, coffee gives a camp morning a bit of ceremony, and it buys a hiking group twenty minutes at the table before the day takes over.
It’s why we ask our guests to bring a bag of coffee from home on almost every trip we run. Everyone turns up with something from their own country, we pool it, and by the middle of the trip, camp has turned into a rolling tasting of six or seven roasts nobody in the group has tried before. Someone always brings something strange. Someone always brings something excellent.
Ways to Make Coffee While Hiking
Nobody actually wants a sachet of instant coffee. And nobody wants to spit grounds out of the bottom of their mug after a round of cowboy coffee. So why put up with either?
The best way to make coffee while camping or hiking comes down to how you’re travelling. If you’re counting every gram on a thru-hike, there’s an ultralight coffee maker light enough that you’ll forget it’s in there. If espresso is non-negotiable, even in the backcountry, there’s a backpacking espresso maker that’ll get you a real shot.
We’ve tested all of the below recommendations over the years, and here are our favorites.
GSI French Press
- Weight: 10.2 oz / 289 g
- Capacity: 30 fl oz
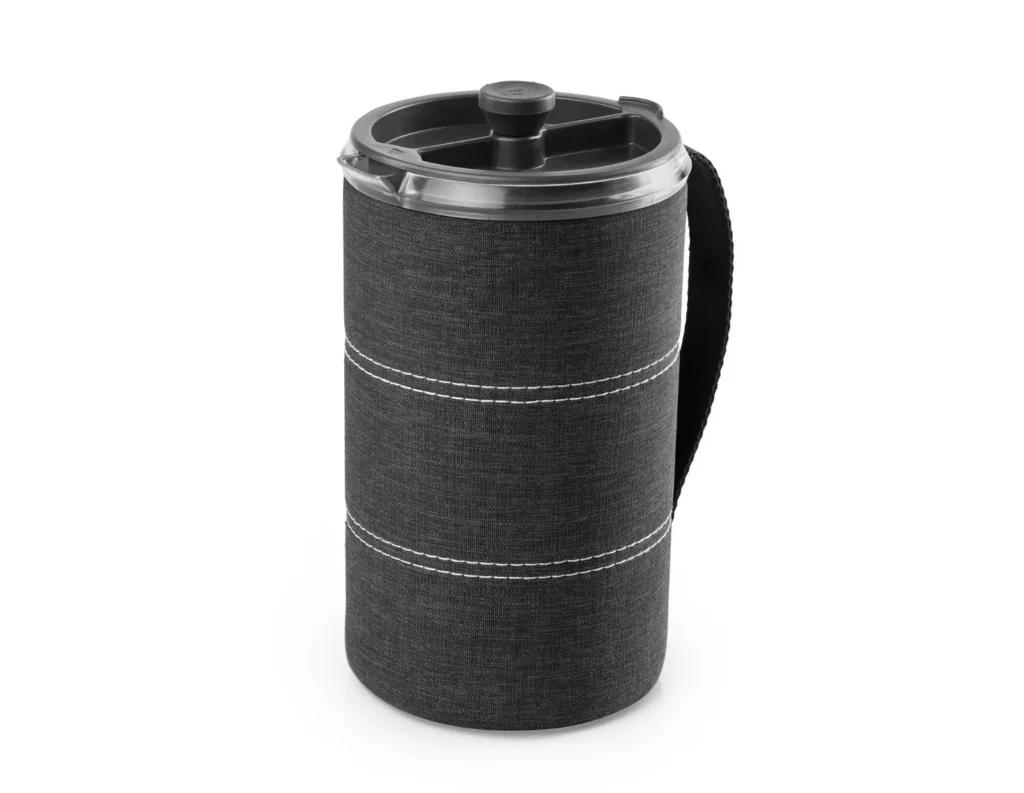
The GSI JavaPress is a long-term favorite of ours, and it’s been on more Epic trips than any other piece of coffee gear we own. The size and simplicity are the main reasons. 30 fluid ounces gets you at least three solid cups, so one brew serves a few people rather than one, and the press can do the rounds while everyone is still sitting down.
The carafe is shatter-resistant copolyester rather than glass, and it’s wrapped in an insulated nylon cozy with a double-walled lid. This means your second cup is still hot, even on a glacier in freezing temperatures – and the thing does not break. Ours have been strapped to mules, thrown into the back of jeeps on Karakoram roads, and buried at the bottom of duffels for weeks at a time, and they just keep going.
At 10.2 oz, it isn’t an ultralight coffee maker, but it certainly is one of the lightest full-size French presses. Split across a group, it’s a couple of ounces a head for proper coffee. Our only gripe is the spout; tip it too slowly, and somehow it just spills over the side. There’s an art to it, and the cruel part is that you need that art first thing in the morning, before you’ve had any coffee.
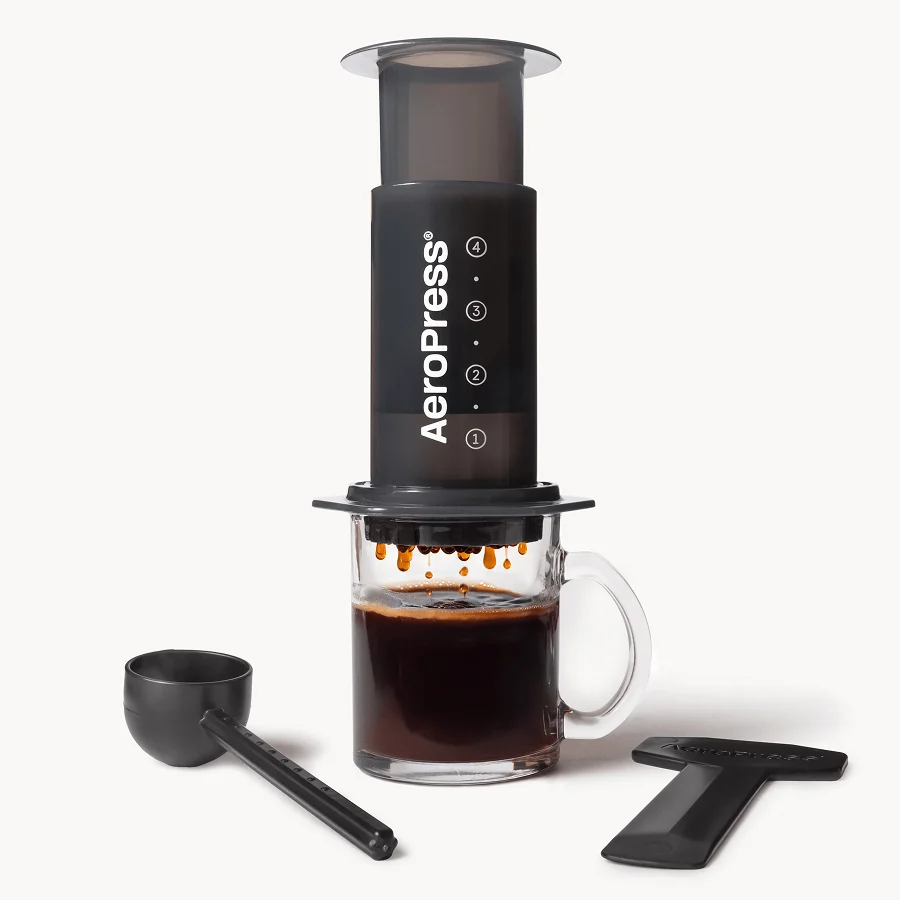
AeroPress
- Weight: 6.5 oz / 184 g (Original)
- Capacity: 10 fl oz, 1-2 cups
The AeroPress has been a cult classic since Alan Adler released it in 2005, and it was one of the first clever answers to making real coffee while hiking. Twenty years on, there’s an annual World AeroPress Championship, and plenty of people who use one every morning at home pack the same thing for the trail.
And there’s a reason why they’re so popular. The paper micro-filter strips out the oils and fine sediment a press leaves behind, so the cup is clean and bright with none of the grit. It’s forgiving, so a grind that isn’t perfect will still give you something good. It’s quick, under two minutes start to finish, and the cleanup is very easy: pop the cap off, push the plunger through, and a dry puck of grounds drops straight into your trash bag.
For hiking, though, it has three problems. The shape is awkward to pack, and unlike a press, it won’t nest inside anything. You have to carry the paper filters, and remember to pack them. And the capacity is the real limit if you’re planning to serve coffee for friends – the AeroPress Original makes 10 fl oz, which is one decent cup or two small ones. There is an “XL” version, which brews 20 fl oz and serves two to four, but it weighs 10.2 oz, which is the same as our JavaPress, and the JavaPress makes 30.
Wacaco Picopresso
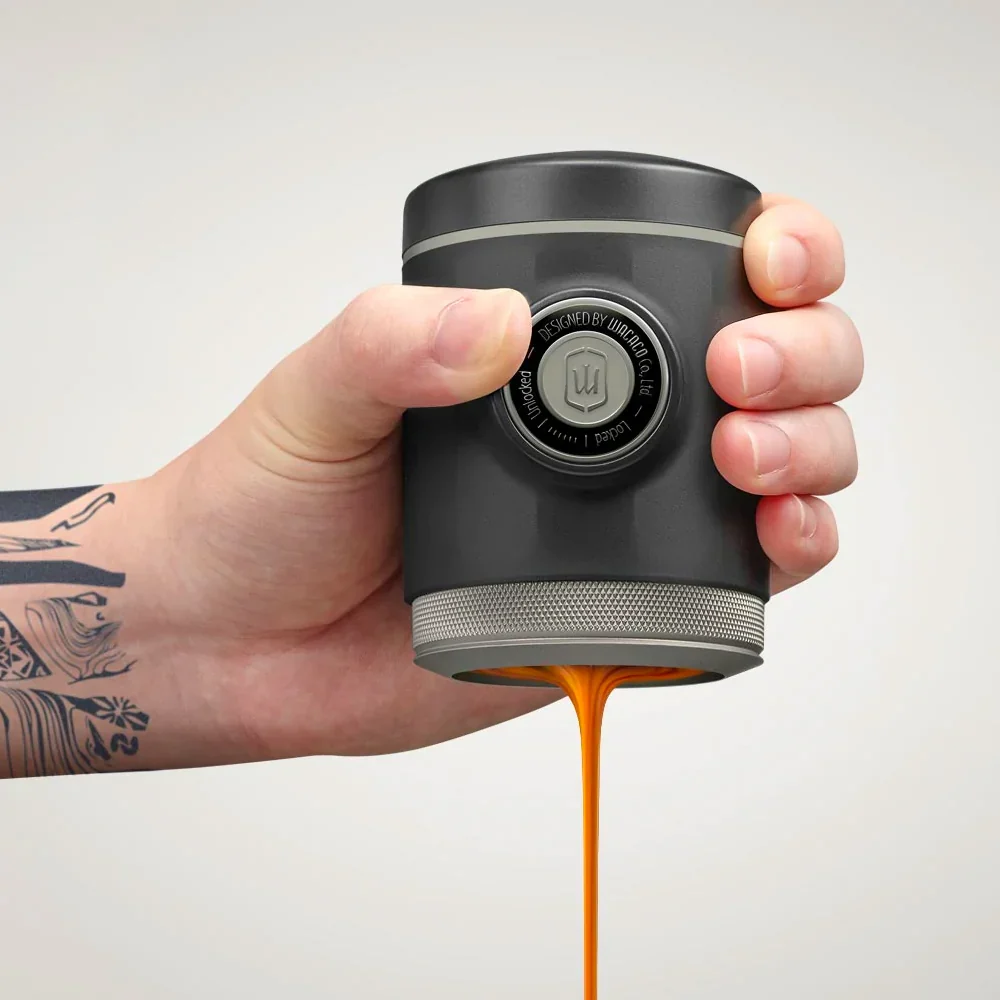
- Weight: 12.35 oz / 350 g
- Capacity: 18 g basket, 80 ml tank = one double shot
We’ve tried a few hiking espresso solutions, and for quality shots, the Wacaco Picopresso is the one that actually delivers. It runs a 52 mm stainless basket behind a naked portafilter, which is commercial-machine width in something that fits in your palm, and it’ll push 18 bar. The shots are excellent. Really surprisingly excellent, with crema and body you wouldn’t believe came out of a hand pump at camp.
The thing is though, we hardly reach for it these days. That’s because it requires the full espresso process every single time. Ultra-fine fresh grind, dosed and distributed and tamped, pre-infusion, then the press. It doesn’t heat water either, so you’re still boiling on the stove first, and afterwards there’s the basket and the shower screen to rinse.
All of that work gets you one double shot. The tank holds 80 ml, and the basket takes 18 g, so it’s one drink per cycle. That’s fine when it’s just you. Less fine with eight people standing around waiting their turn. Weight is the other problem – at 12.35 oz, the Picopresso is heavier than our 30 oz JavaPress, and the JavaPress makes ten times the coffee.
Out on the trail you can stretch a shot with hot water for an americano, which is very good. Get fancy and stir in some milk powder for a flat white of sorts, though how you froth it with gear that fits in your pack is entirely your own problem.
Jetboil Coffee Press
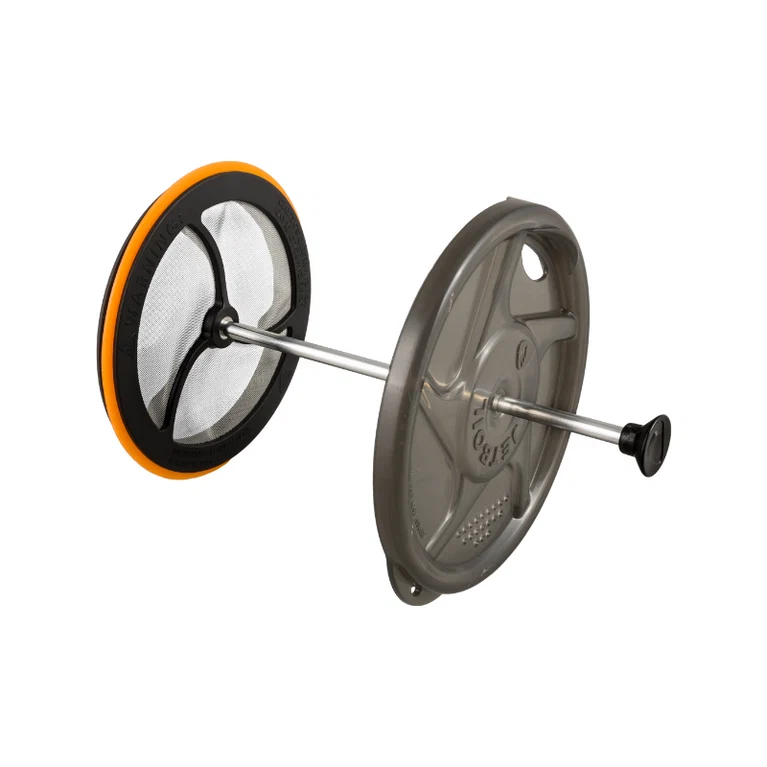
- Weight: 1.3 oz / 36 g (Regular)
- Capacity: whatever your Jetboil cup holds, 0.8 L to 1.8 L
If you already hike with a Jetboil, the Silicone Coffee Press is the cheapest upgrade to your camp coffee you’ll ever make. It’s a plunger with a micro-filter and a silicone ring that drops into the cup you already boil in, turning your stove into a hiking French press without you carrying a second vessel. At 1.3 oz and less than $25, it’s close to free in both weight and money.
It works pretty well too. The silicone ring seals against the cup wall and holds the grounds down where they belong, which is the whole difference between this and a mouthful of cowboy coffee. The stem unscrews from the basket, and both parts stow inside your cup, so it takes up no room at all. And since you’re brewing in the same cup you boiled in, the coffee stays hot in the insulated cozy while you drink it.
There are two sizes and they are not interchangeable. The Regular fits the Flash, MicroMo and Zip, while the Grande fits the Stash, MiniMo and Sumo. In our experience, a fine grind will still push past the ring, so keep it coarse.
The bigger point is that using a Jetboil for coffee only makes sense if the Jetboil is already in your pack. A Flash system runs around $160, which is a lot to spend on a stove you didn’t need to get a cup you could have made with a $13 dripper.
Pour-Over Dripper
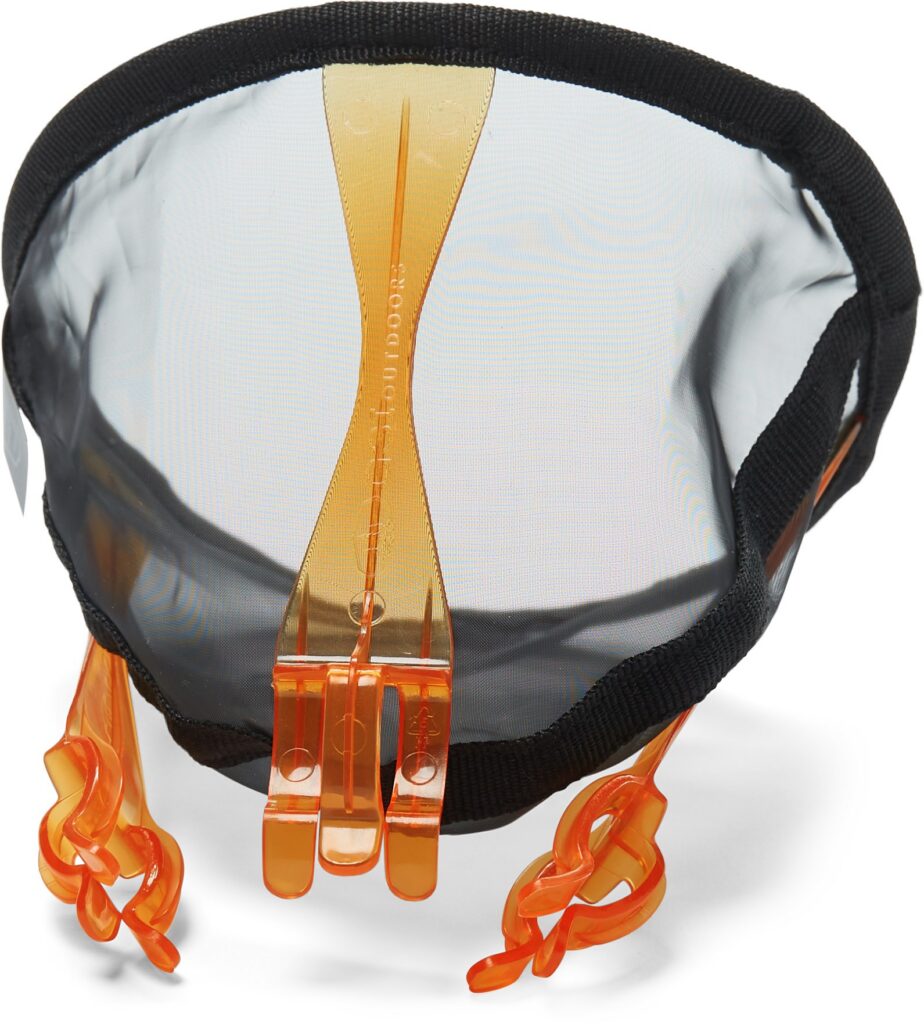
- Weight: 0.4 oz / 11 g
- Capacity: one cup at a time (#2/#4 filter equivalent)
At the ultralight end, the GSI Ultralight Java Drip is hard to argue with. It’s a nylon cone on three folding legs that clip onto the rim of almost any cup or mug; it costs less than $15, and it weighs less than half an ounce. It also nests under a standard fuel cartridge, which means you’re not going to notice it in your pack.
If you’re new to it, pour-over coffee is just as easy to make as it sounds, and while you’re not going to get an excellent extraction from this method, it sure beats cowboy coffee. And, unlike the AeroPress, the mesh is reusable, so no paper filters to carry.
That said, nylon mesh is coarser than paper, so the water runs through faster than it should, and you end up with a lighter, thinner brew and a bit of fine sediment sitting in the bottom. You can fight that by grinding a touch finer and pouring slowly in stages rather than tipping it all in at once, but it’s always going to be just a pour over.
GRAYL GeoPress Ti Coffee Press
- Weight: 1.6 oz / 45 g (press kit only)
- Capacity: 24 fl oz
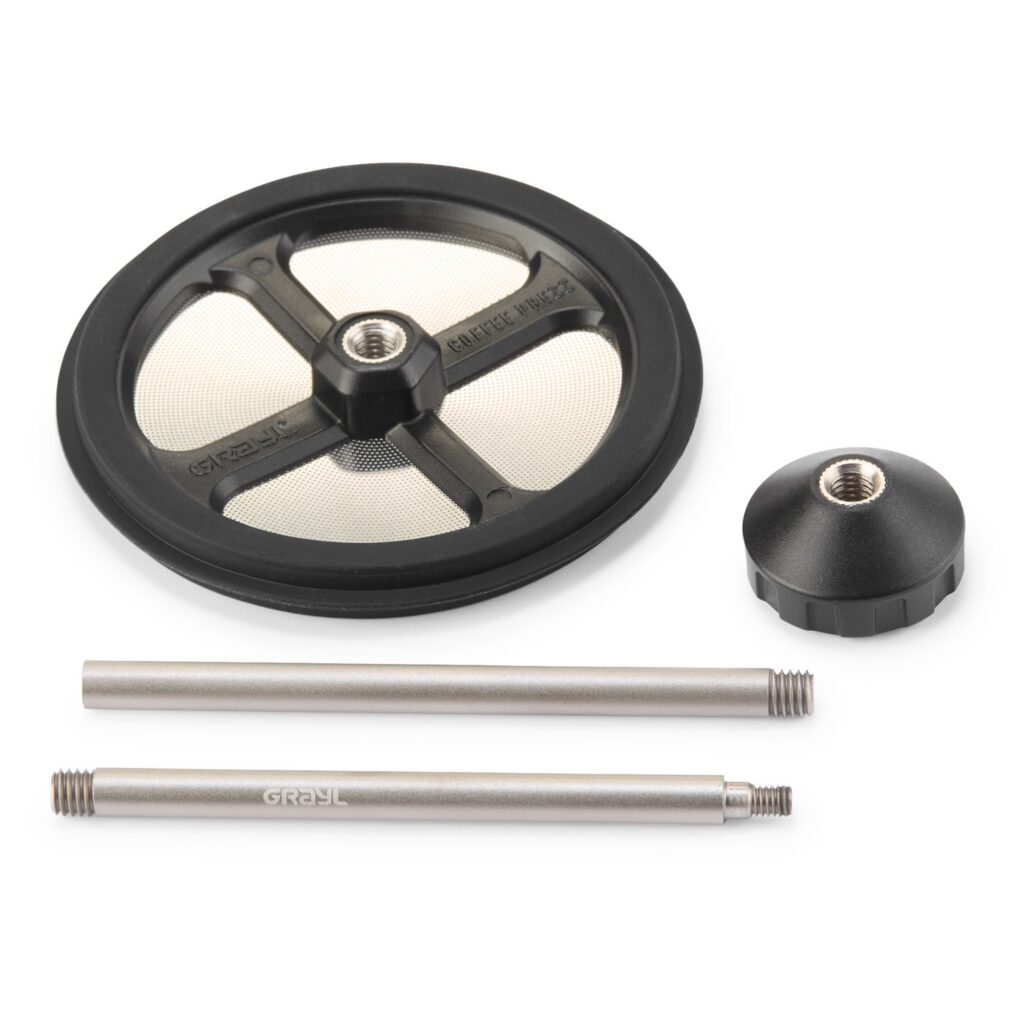
This is the one we’re most excited about. If we had to name a favorite hiking gadget, it would be the GRAYL GeoPress. It turns almost any water source into safe drinking water, and GRAYL has now released a Coffee Press kit that turns the same bottle into a French press.
Being close friends with the GRAYL office and knowing their coffee consumption levels (which is almost as much as Chris’), we know they’re serious about their coffee too.
On paper it seems like a dream solution. The kit is 1.6 oz, a two-piece titanium press rod, a knob, and a filter screen, and it packs down to almost nothing. You’re getting a 24 oz French press for the weight of a few tent pegs, and immersion brewing happens to be the right method at altitude anyway, since you can leave it steeping as long as you need.
Now the catch, and it’s a big one. The kit only fits the 24 fl oz GeoPress Titanium, which for most people is likely not going to be their first pick for a water purifying filter to begin with, since this bottle retails for over $200 without the coffee kit. That said, if you were already buying the Cadillac of water filters, adding the press is a no-brainer, and it might be the tidiest way to make coffee while hiking we’ve come across yet.
Tips for a Better Cup of Camp Coffee
No matter what hiking coffee gear you purchase, here are a few things that’ll help you get better-tasting coffee on the trail.
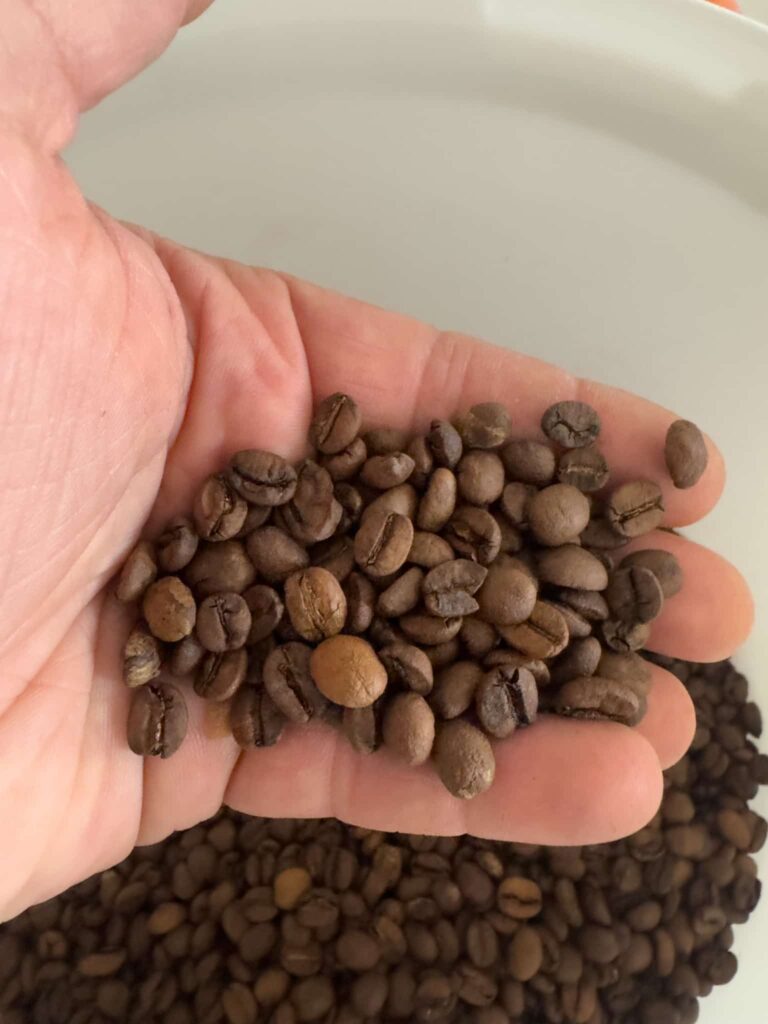
- Start with good beans – buy from a roaster, check the roast date rather than the best-before date, and keep them in a sealed bag with the air squeezed out.
- Match the grind to your gear – coarse for a French press, medium for pour-over and AeroPress, ultra-fine for espresso.
- Skip the grinder – fresh ground is always better, but a hand grinder takes up valuable backpack real estate. Instead, grind at home and seal it up, or bring a fresh batch.
- Drinking coffee at altitude – coffee extracts at 195–205°F (90–96°C), but water boils at around 194°F (90°C) at 3,000 m and as low as 181°F (83°C) at 5,000 m! At altitude, brew the second it boils, use more coffee, and steep it longer. It’s also why a press beats a pour-over up high.
- Warm the vessel first – a cold mug steals heat the moment you pour. Slosh boiling water around it, tip it out, then brew.
- Watch your water – coffee is mostly water, and treatment tablets taste like treatment tablets. Filter or purify if you’re brewing with it.
Disposing of Grounds Ethically
Coffee grounds aren’t toxic waste, and yes, they can be good compost for your garden. Spent grounds come out close to pH neutral, since most of the acid ended up in your cup, so the “they’ll poison the soil” line you sometimes read doesn’t really hold up.
But the thing is, they don’t vanish immediately either, and are quite unsightly poured out all over a campsite where they can sit for weeks. On thin alpine ground, where there’s barely any soil biology to break anything down, they last a lot longer than that.
So bag them. Let them dry out first so you’re not carrying wet sludge around, then they go out with the rest of your trash.
What We Use at Epic to Make Trail Coffee
We’ve tried most of what’s on this list, and a few things that never made it onto it. What we keep coming back to is that good trail coffee comes down to simplicity and sharing a cup.
That’s why the GSI JavaPress goes on every group trip. It’s simple enough to operate before anyone is properly awake, tough enough to survive a mule, and it pours three cups at a time.
But when hiking on their own, many members of our team use all sorts of different solutions: a Jetboil press for fast-and-light trips, an AeroPress for the ones who care most about the cup, a dripper for anyone counting grams. There’s no single right answer, but we suggest you pick whichever fits how you hike. Any of the above will get you a proper cup on the trail, and off the instant for good.