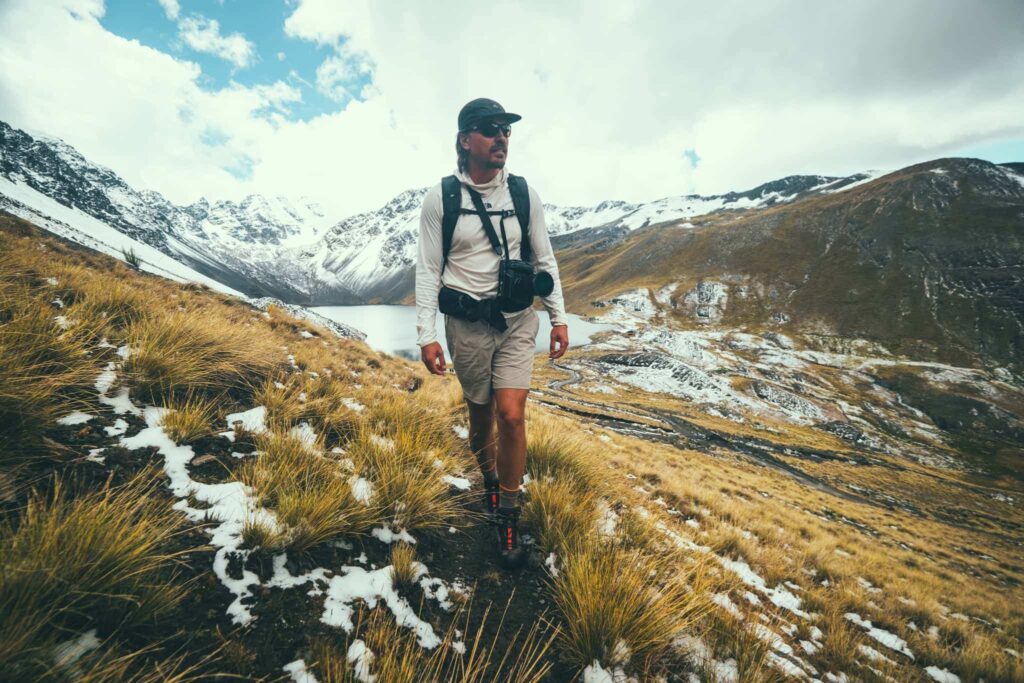
It is hard not to become a photographer when your “office” is the Karakoram Range or the steppes of Central Asia. At Epic Expeditions, our team is made up of passionate shutterbugs and creatives who have spent years exploring some of the most visually dramatic corners of our planet.
But as anyone who has clocked a vertical kilometer with a pack full of camera gear knows, those dream landscape shots come at a steep physical price. And no, it isn’t just the back pain, it’s also the constant battle of stopping to whip out a camera, fumbling with zippers, changing lenses in the wind, and risking ruining the flow of the hike altogether.
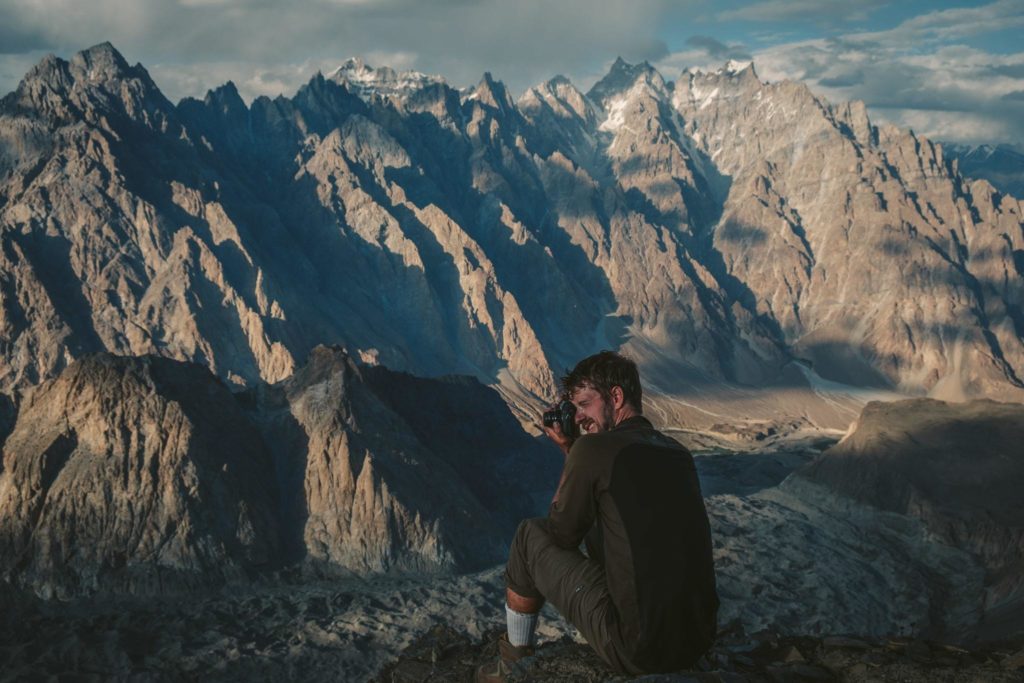
On the flip side, we also know the sinking feeling of leaving a camera behind, only to watch a once-in-a-lifetime alpenglow hit a distant 7,000-meter peak.
Whether you are tackling a multi-day backpacking route, a cross-country thru-hike, or joining a high-altitude expedition, here is our field-tested advice on how to pack smart, carry comfortably, and actually enjoy hiking with camera gear.
First: Foreseeing the Issues and Creating Goals
Before you start piling your cart full of awesome hiking gadgets and camera gear, ask yourself the following questions:
What kind of photos do you actually want to take on the trail?
Be honest about the mission. Are you passionate about taking photos of distant wildlife? What about those dramatic, compressed mountain layers? If so, then the extra weight of a telephoto zoom can be worth it.
Or do you just want to capture beautiful landscape photos from a specific mountain pass and take some timelapses at camp? Then a camera paired with a single variable wide-angle zoom around the 15-35mm range will serve you well and not weigh you down too much.
On the other hand if you are bushwhacking through a humid jungle on the Kokoda Track and just want to capture some memories without stressing about ruining your gear, then there’s nothing wrong with a humble GoPro.
Are you really going to use the tripod?
Hiking with a tripod is cumbersome. Be honest, in the middle of a steep ascent, are you actually going to unstrap a tripod, extend the legs, and set up a shot? Unless you are specifically shooting astrophotography or long-exposure waterfalls, leave the heavy legs at home.
They are usually dead weight. For 90% of shots, a rock, your backpack, or a lightweight mini-tripod (like a GorillaPod) will get the job done.
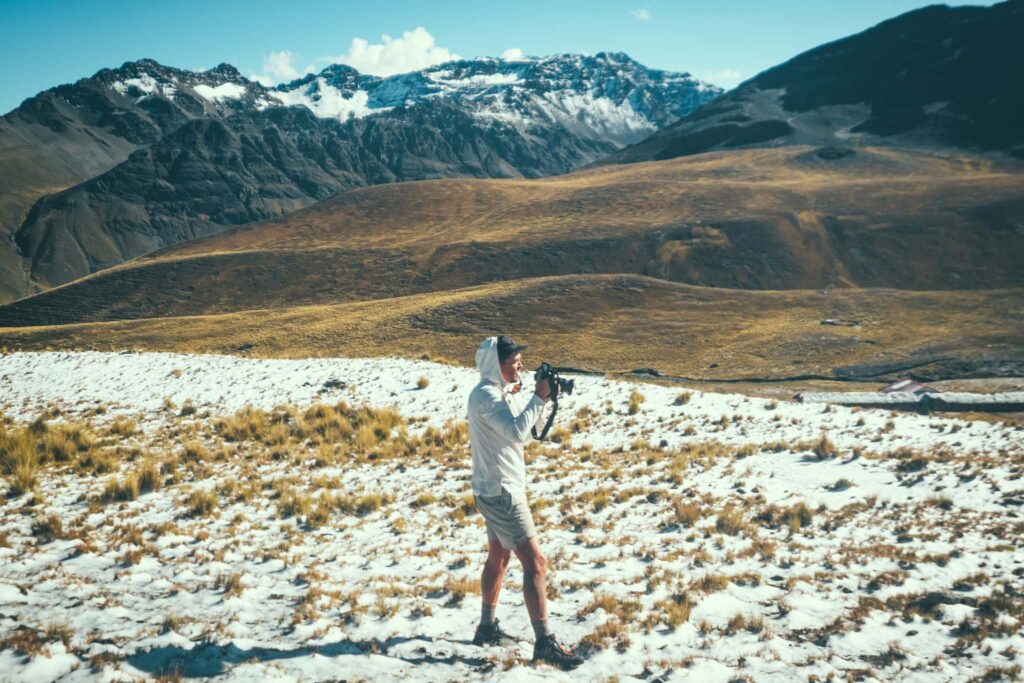
Can you access your camera without stopping?
Speaking from the experience of many missed shots here, if it takes more than 10 seconds to take a picture, you won’t take it. And, if you only take photos during water breaks because your gear is hard to reach, you’ll miss 90% of the shots anyway.
The solution is moving the camera from your back to your front. We will cover the best ways to make this happen in the “How to Carry” section below.
Lastly, is the trail going to kill your flow?
If you are trekking in the dusty Karakoram or a rainy jungle, are you willing to risk changing lenses? In cases like this we highly recommend ditching the bag of prime lenses in favor of a weather-sealed “all-in-one” zoom (like a 24-105mm) that stays attached to your body.
This also helps cover the focal range while keeping weight to a minimum, which is especially important if you are hiking with camera gear over long distances or covering a lot of uphill or undulating terrain.
Remember, an extra pound or two for a nice prime might feel manageable when packing at home, but can seriously weigh you down on a trail.
What Gear to Bring on a Longer Hike
Here’s a solid truth and something we struggled with when starting out – there is no universal “perfect” camera kit for hiking. Instead of following rigid rules, we recommend building your camera kit for hiking around a few key categories.
The Camera Body
The truth is that you can take very decent photographs with a pocket-sized camera these days. Models like the Fujifilm X100VI or the Ricoh GR III pack incredible sensors into tiny bodies and for many hikers, that is honestly all you might need.
However, if you are a photographer first and looking to take passion to the trail, our recommendation is an interchangeable mirrorless system.
Mirrorless cameras have largely become the standard for hiking because they are much lighter than old DSLRs and they let you see your exposure in real-time through the electronic viewfinder. Without getting too deep into choosing the best camera for hiking (which we could easily write an entire article about), here are the key things worth considering:
- Weather Sealing – If you are heading into the mountains, assume your camera will get wet, dusty, and banged up. A weather-sealed body (like the OM System OM-1, higher-end Canon RF bodies like the R5, or the Sony Alpha cameras like the a6700 or a7) allows you to keep shooting when things get most interesting.
- Sensor Size – Don’t get too hung up on the whole “Full Frame” thing. A Crop Sensor (APS-C) or even a Micro Four Thirds system drastically reduces the size of your lenses, which is where the real weight savings happen anyway.
Lenses
Speaking of lenses, this is where most hikers (including this writer) tend to overpack. Usually you don’t need a whole pack of massive aperture prime lenses.
For 90% of hikers, a single, high-quality zoom lens is the answer. A 24-105mm f/4 (or equivalent) covers everything from wide landscapes to compressed mountain layers and even portraits. It stays on the camera, keeping your sensor clean and shooting easy.
However, we admittedly are suckers for a beautifully framed wide angle mountain scene as well as magical astrophotography shots at camp. While the wide end of the “do-it-all 24-105mm” will capture most landscapes, a wide angle zoom or a small, fast prime (like a 16mm f/1.4 or 20mm f/1.8) can be worth the extra weight and takes up very little space.
A note on telephoto lenses: Unless you are a very keen photographer, planning to shoot wildlife or absolutely need to compress a distant mountain range to make it look massive, a traditional 70-200mm f/2.8 (or longer) is usually not worth the extra weight.
Gear & Essentials
When it comes to camera gear for hiking, we like to keep it simple. The less we have to carry, the more we can actually enjoy the hiking – and the photography itself!
In fact, the majority of accessories we really recommend are the ones that specifically help you carry or use your gear more easily on the trail. Anything else is usually just dead weight.
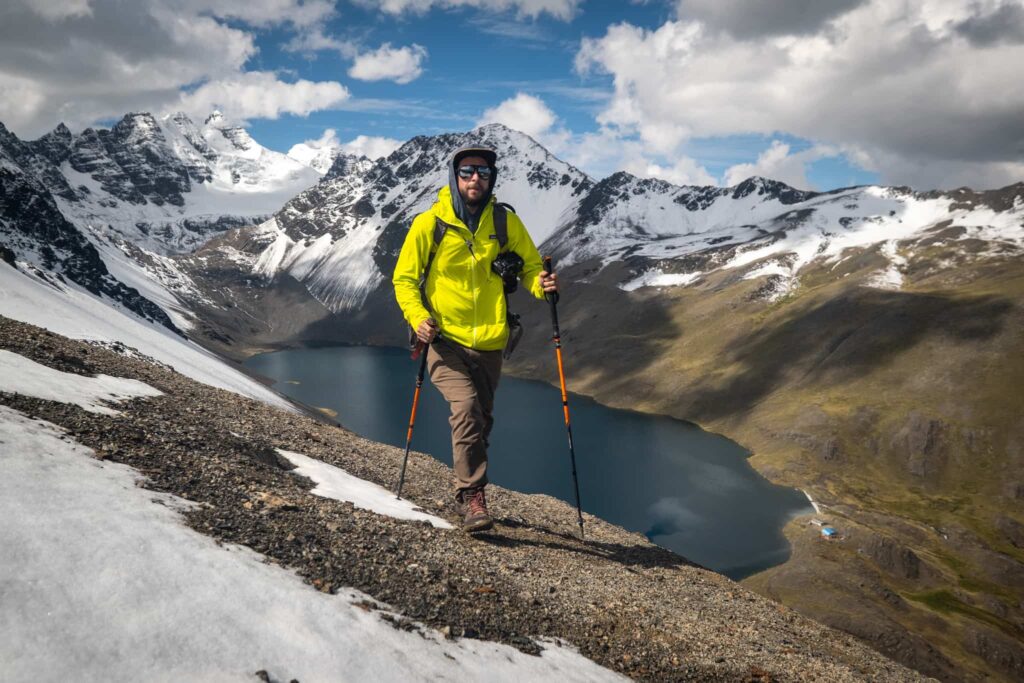
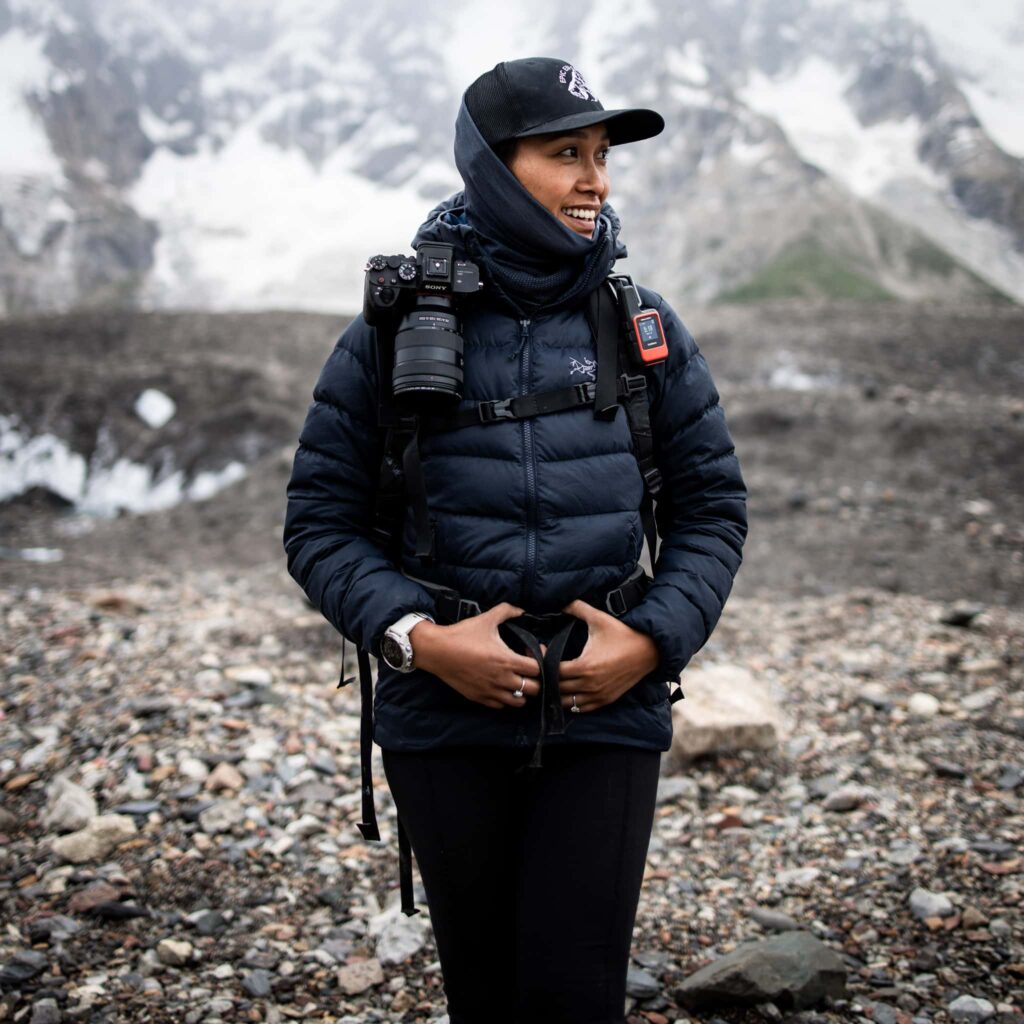
Specifically, a comfortable, dedicated camera backpack is a good start, but the real game-changer is how you access your gear while moving. We are huge fans of using mounts and clips to keep the camera out of the bag and ready to shoot. We swear by the Peak Design Capture Clip for this, but more on exactly how we use that in the carry section below.
Other than that, focus on:
- Batteries: Hiking in cold weather makes batteries drain faster than you think. In the Himalayas or the Andes, assume a battery will last half as long as usual. We always bring at least two spares and keep them close to our body heat (in an internal jacket pocket) during the day and inside the sleeping bag at night.
- The circular polarizer (CPL): We love these filters because they act like polarized sunglasses for your lens. If you are hiking near snow, water, or at high altitude, a CPL makes landscape shots much crisper by cutting through atmospheric haze and removing glare.
- Small cleaning kit: Mountain environments are hostile and dust will happen. You don’t need a full cleaning laboratory; a small rocket blower and a microfiber cloth are enough.
How to Pack Your Camera and Your Gear
When it comes to hauling gear, you generally have two options, either a dedicated camera bag or a standard hiking pack. There are plenty of excellent backpacks designed specifically for photographers from brands like F-Stop, Lowepro, and Peak Design. Our team is particularly fond of Atlas Packs, which manage to combine the easy access of a camera bag with the robust suspension system of a proper hiking pack.
However, you don’t need a specialized bag to hit the trail. For multi-day treks where you need space for rain jackets, snacks, and other trail essentials, a standard 30-40L hiking backpack is often the better choice.
We recommend pairing your favorite hiking pack with a soft camera case (or Internal Camera Unit) from brands like Wandrd, Peak Design, or F-Stop. This simple padded insert protects your gear inside the main compartment.
Finally, a word of warning on weather: never fully trust a backpack rain cover. After a long day of hiking in the rain, water eventually creeps in through the back panel or wicks down the straps. For total peace of mind, we recommend placing your camera cube or loose electronics inside a lightweight dry bag within your pack. It adds almost no weight but guarantees your gear survives.
Wondering how to pack a camera in a backpack?
We recommend prioritizing access – either via a side pocket or on top of your other bag contents. This way, if a shot opportunity comes up, you don’t have to pull everything out to get your camera or swap a lens, it also won’t get crushed under the mountain of snacks you’ll pack.
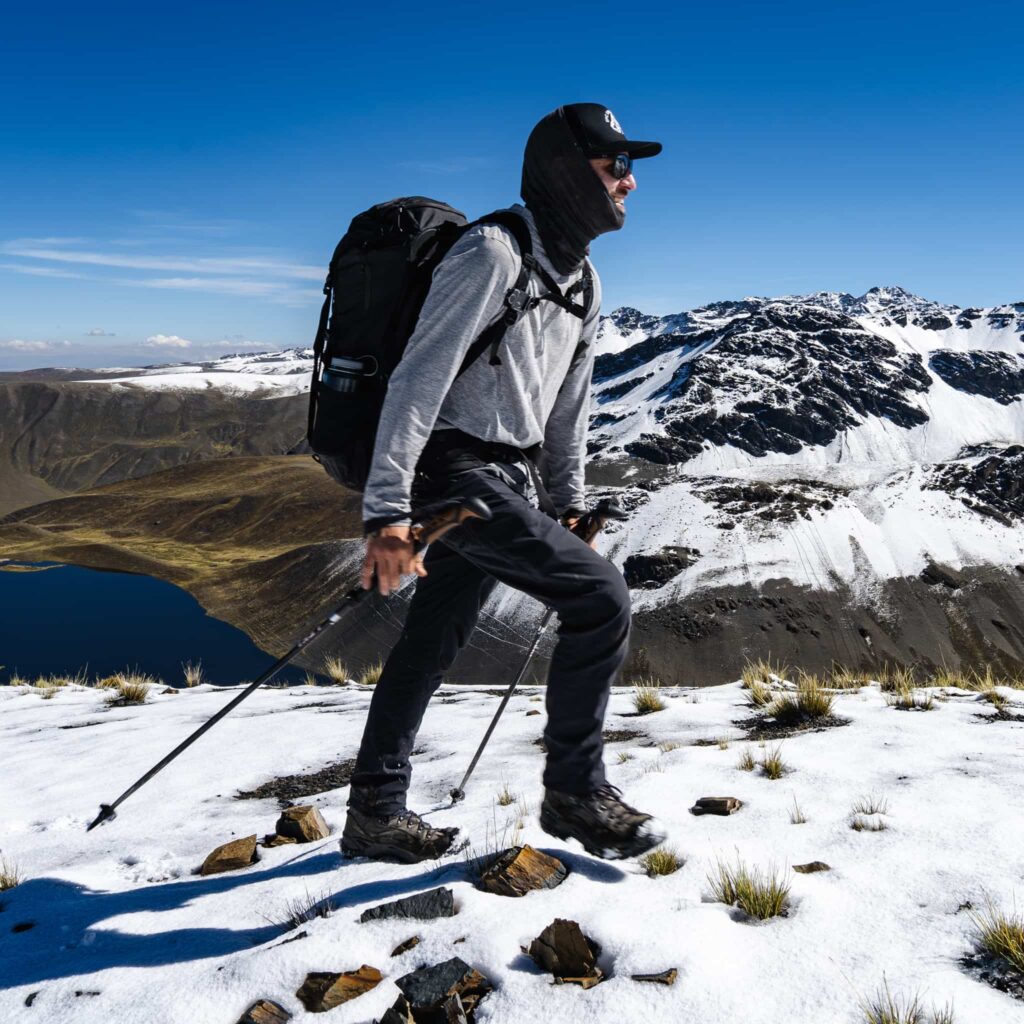
How to Carry a Camera While Hiking
You can have the best camera in the world, but if it is uncomfortable to carry, it stays in the bag. And if it stays in the bag, what’s the point?
Over the years, we have tried just about every contraption imaginable to solve the mystical hiking with a camera problem. Generally speaking, there are four main options:
- Neck strap – the default option that comes in the box. It’s fine for a city walk, but on a trail, it allows the camera to swing, bounce off your chest, and places all the weight directly on your neck.
- Chest harness – a vest-style system (like those from Cotton Carrier) that locks the camera to the center of your chest. It is incredibly stable and great for heavy telephoto lenses, but usually only for professional photographers and videographers.
- Belt holster – A clip or pouch that sits on your waist belt. It keeps the weight off your shoulders entirely but can get in the way if you are scrambling over rocks or wearing a backpack with a thick hip belt.
- Shoulder clip – A metal clamp that attaches directly to your backpack strap, allowing you to lock the camera rigidly to your chest.
In our opinion, the best way to carry a camera while hiking is a shoulder clip. We are massive fans of the Peak Design Capture Clip specifically.
Since we are almost always hiking with a backpack, clipping the camera directly onto the shoulder strap makes the most sense. It’s quite amazing how effectively this method transfers the weight of the camera off your neck and onto your pack’s suspension system.
Plus, it keeps the camera instantly accessible. You can unclasp it, take the shot, and lock it back in within seconds.
Tips for Taking Photos While Hiking
Taking photos on a trail comes with a unique set of challenges. You are tired, the light is often harsh, and sometimes your subjects just really don’t feel that photogenic!
If you’re just starting out, here are some specific hiking photography habits we use to take better photos, and enjoy the experience.
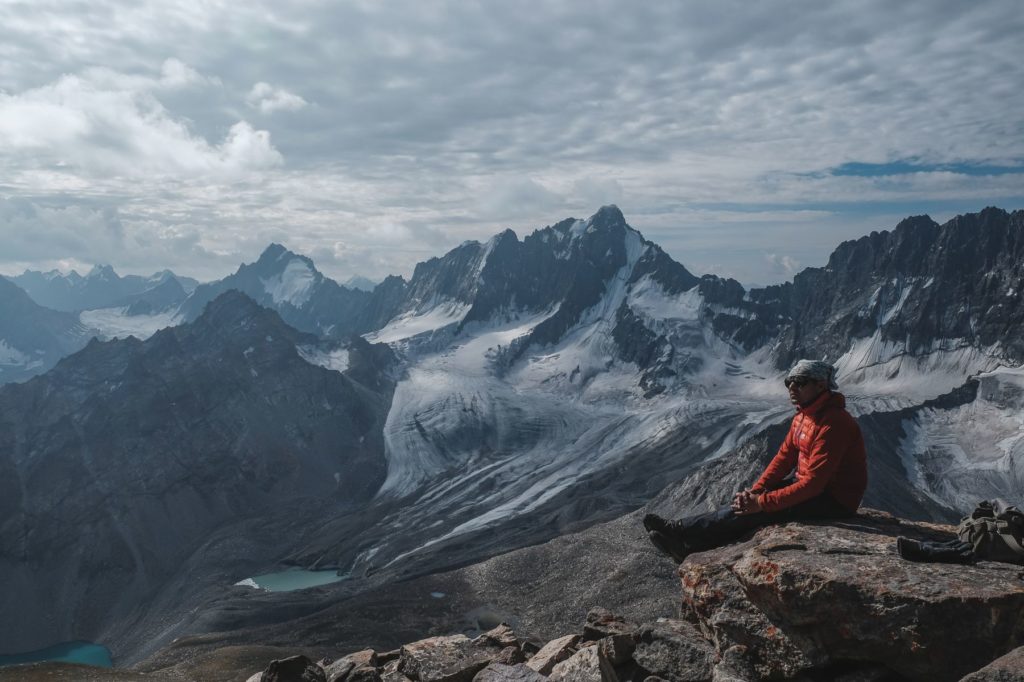
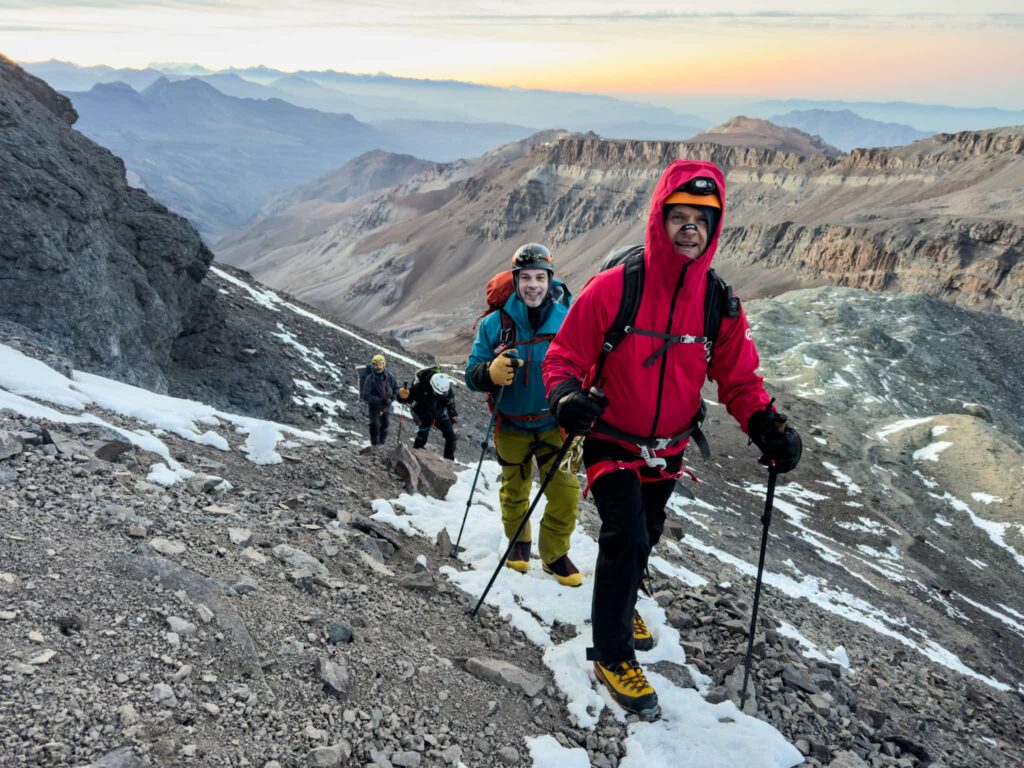
Use Scale
We see this mistake constantly. You take a photo of a massive peak, but on your phone or computer, it looks like a small hill. To show how massive a landscape is, you need a reference point. We love shots with a hiker in the bottom of the frame. A tiny human silhouette against a towering ridge instantly shows scale and makes mountain photos so much more epic.
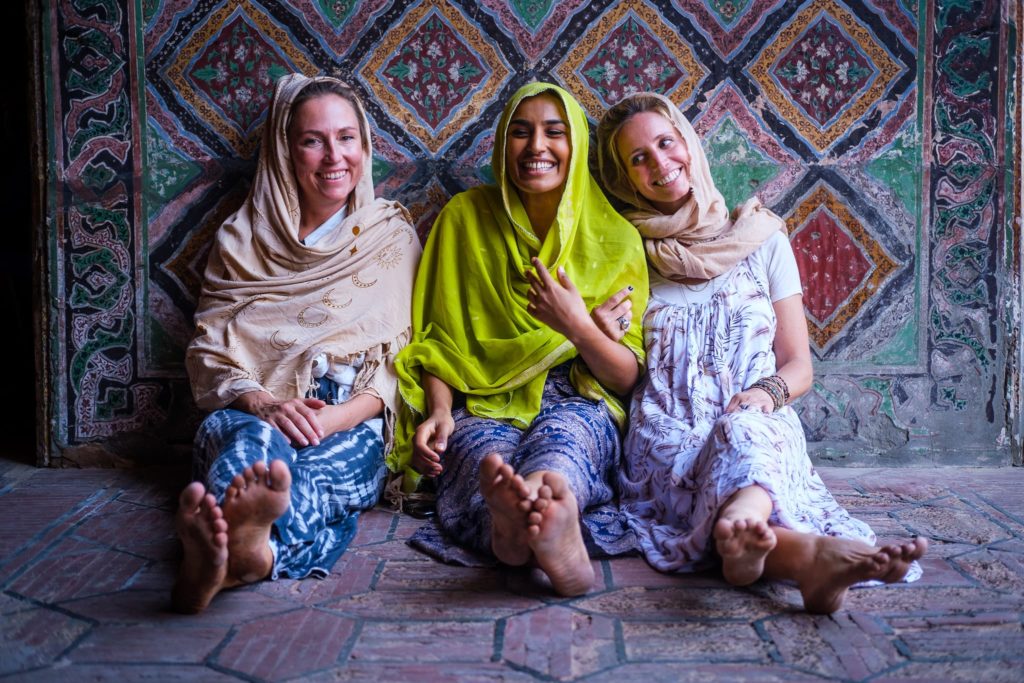
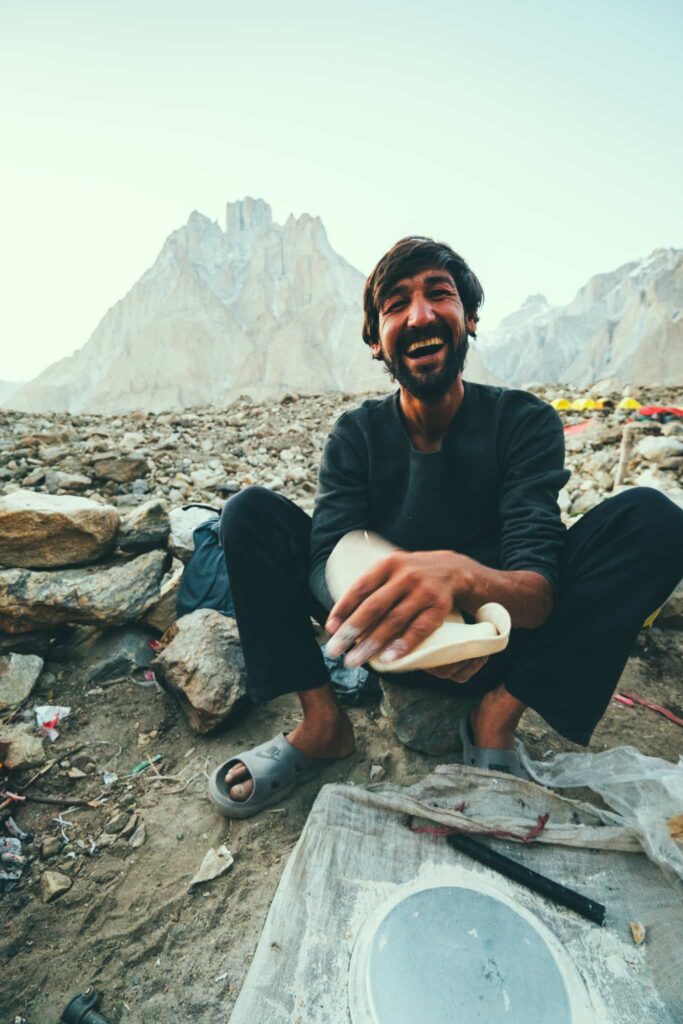
Portraits
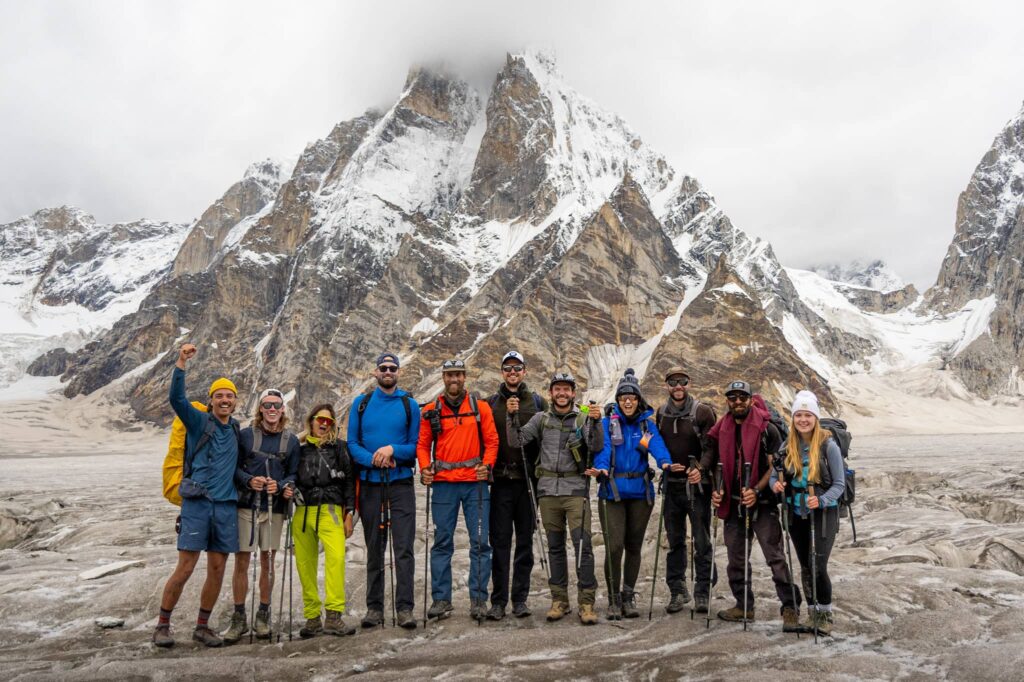
Landscapes are great, but the people make a place come alive. On our expeditions, whether it’s the porters on the K2 Base Camp trek or nomadic families in Mongolia, we meet some incredibly interesting characters.
Taking their portrait is fun and really rewarding. It’s also a really fun way to interact with locals, provided you respect local cultures. The good news is that people all over the world usually love having their photo taken. All you have to do is ask. Don’t worry about the language barrier, a smile and the “camera” hand mime is universal everywhere you go.
Photography as a Mental Break
Hiking is great for physical health, but it’s also a mental game. We love to use our camera as a tool to slow down. When our legs are burning, stopping to frame a macro shot of some alpine moss or a weird rock texture helps us catch our breath and reset our mind.
This mindfulness actually makes for better photos. Instead of rushing to the summit, try to actively look for beauty in the small details, the worn-out boots, the steam rising off morning coffee, or the texture of the trail.
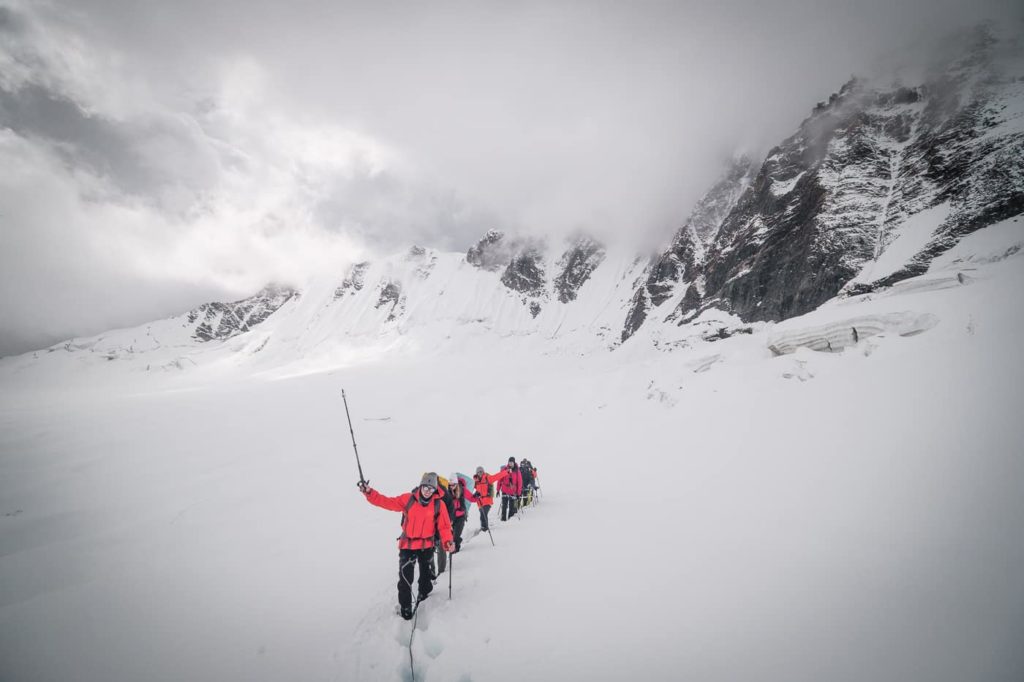
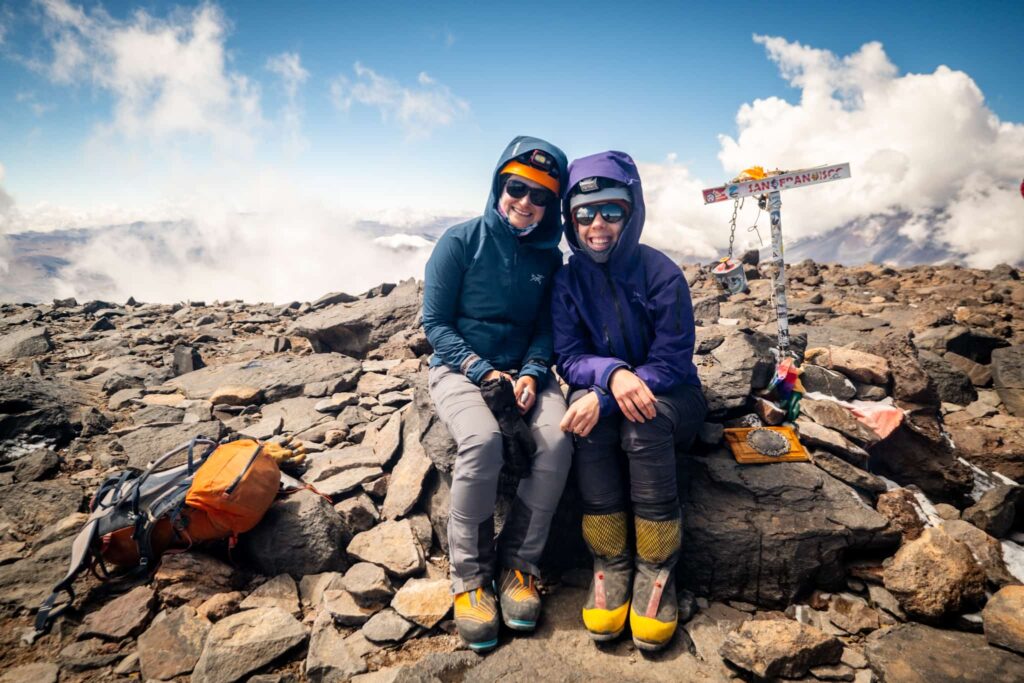
Documenting the “Type 2 fun”
It is tempting to put the camera away when the weather turns bad. If you’ve got a weather sealed camera, consider keeping it out!
The bluebird sky photos are pretty, but the shots of your team huddled under a tarp in the rain or looking absolutely destroyed at the top of a pass are the ones that tell the real story. These gritty moments are the ones you’ll laugh about later.
Hiking and Photography Go Hand-in-Hand
At Epic Expeditions, we are adventurers and passionate photographers at heart. It’s no surprise that so many fellow creatives find their way onto our trips, and we love the shared energy that brings to a trip.
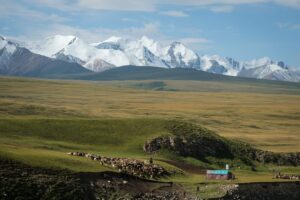
For inspiration and photos we’ve taken, check out some of our trip diaries. We’re especially proud of our Mongolia diary. This one is a particular highlight, capturing Eagle Hunters on the vast plains offers some of the best photo opportunities on the planet!
We hope to see you (and your camera) on the trail soon.