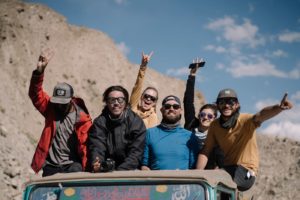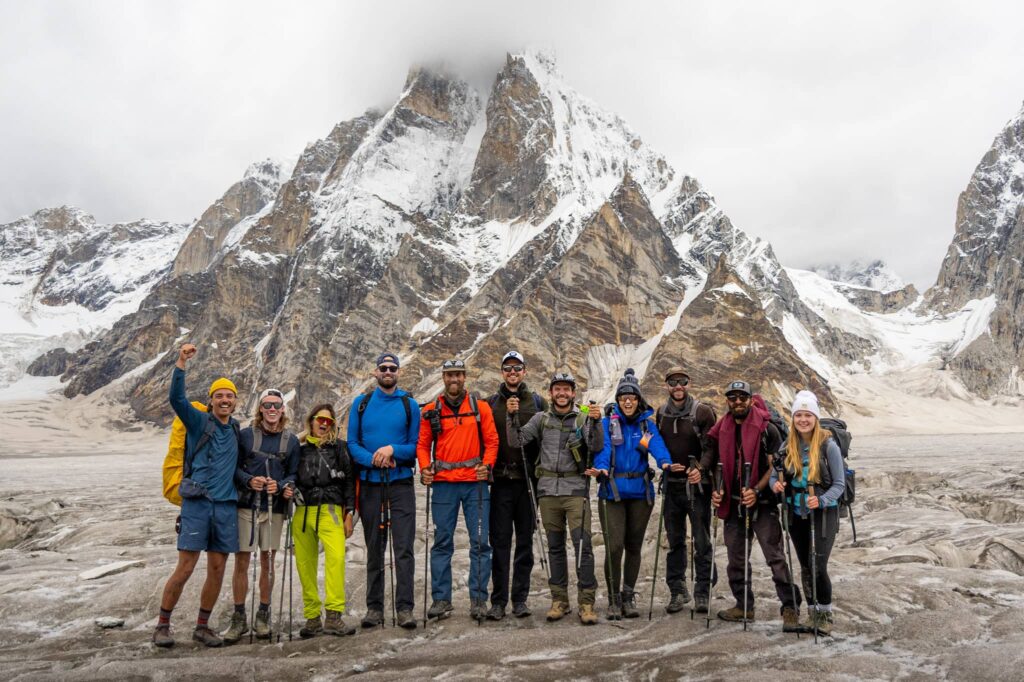
Our team at Epic Expeditions are all passionate photographers who have spent years hauling camera equipment on big hikes all over the world, from the Andes to the jungles of PNG. What we’ve learned is that choosing the best camera gear for hiking is always more about compromise than building a gear list.
Trust us when we say this: by day three of trekking over loose scree on a diet of flatbread and coffee, you’ll be cursing every ounce of unmounted glass in your camera backpack.
But it’s not just about saving weight; it’s also about effectiveness.
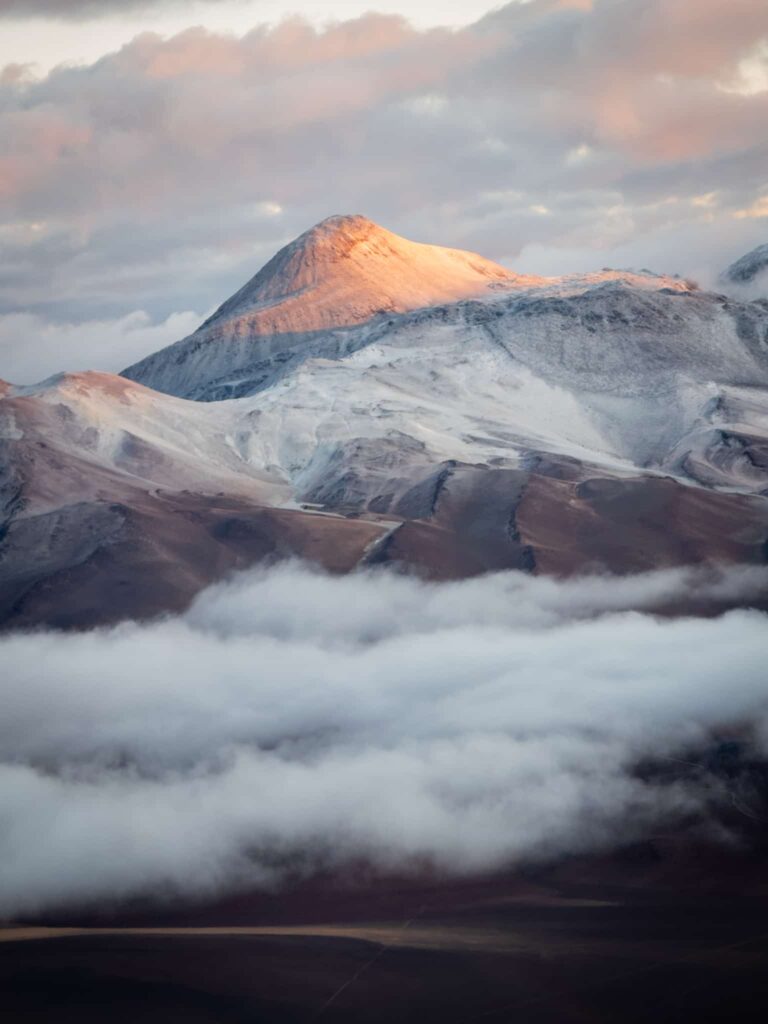
The lightest camera for hiking might not do that once in a lifetime alpenglow any justice, and it’s likely not going to survive a Karakoram dust storm or a waist-deep glacial river crossing.
Below, we’ll share our unique approach to nailing down the camera gear you’ll want to pack on a long hike, with real recommendations based on what we use, what we know works, and what you’ll want to leave at home.
Camera Bodies
Before we get into specific recommendations, it helps to understand the fundamental choice you’re making when you pack a camera for a big hike: a fixed lens or an interchangeable lens system. Everything else – brand, sensor size, weather sealing, and price – flows from that decision.
The Case for a Fixed Lens Camera
A fixed lens camera is exactly what it sounds like: one body, one lens, done. You won’t need to swap glass or fumble with mounts at altitude. You’ll cut the gear list down to one compact unit, which helps with agonizing over which combination to bring.
Just grab your camera and go hiking.
The Fujifilm X100VI is the obvious standout. It’s slim enough to slip into a jacket pocket, packs a genuinely excellent 40MP APS-C sensor, and shoots beautiful images straight out of the camera thanks to Fuji’s legendary film simulation modes. The built-in ND filter is a quietly useful feature on bright alpine days or if you want a small camera for hiking videos.
One caveat: the X100VI isn’t fully weather sealed out of the box. The lens needs an adapter ring and UV filter to get there, which adds a small extra cost but is worth sorting, especially if you plan on hiking in the rain.
Alternatively, the Sony RX100 VII is a more pocketable option with an impressive zoom range for its size, though it gives up some image quality at the altar of compactness.
If even a compact camera is too much, some of our clients shoot incredible images on nothing more than an iPhone. But if photography is core to why you’re out there, you’ll likely outgrow it.
The Epic Team Choice: Mirrorless Interchangeable Lens Cameras
The honest limitation of any fixed lens camera is focal range i.e. flexibility.
That’s why the vast majority of our team now shoots on mirrorless systems. Yes, you will feel the extra weight; we’re not going to sugarcoat it. But the ability to swap glass changes the game.
When it comes to sensor size, the practical choice for most hikers is APS-C. Smaller sensor means smaller, lighter lenses, which is a meaningful advantage when you’re nine hours into a day hiking with your camera gear.
Full-frame delivers the absolute best image quality and low-light performance, but you’ll pay for it in backpack weight and wallet damage. Also, the larger full-frame resolution (and, for that matter, medium format) is only needed if you’re going to be making larger prints. If you’re just going to be making smaller prints and posting online, the above formats might be overkill.
Here are some worthy contenders:
Many teammates have sworn by their Fujifilm X series bodies for years, and the majority of photos across the Epic website were shot on this system. Director Chris Lininger often says his XT-4 “practically built the company.”
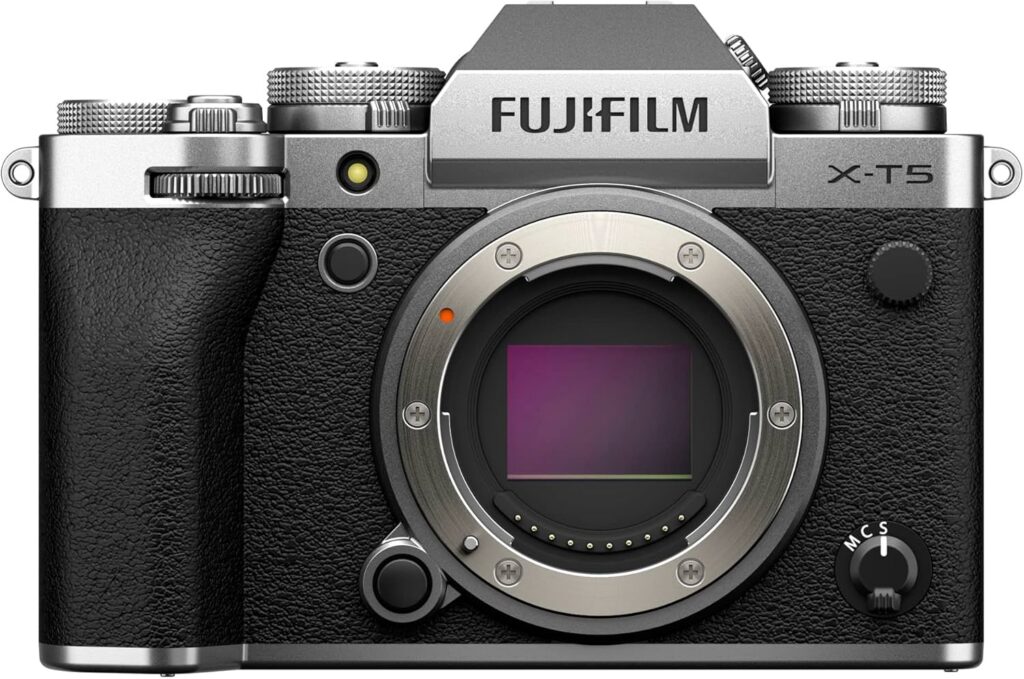
The current flagship, the X-T5, pairs a 40MP APS-C sensor with physical exposure dials you can actually turn with cold fingers. It’s robustly weather sealed, compact by mirrorless standards, and the Fuji lens lineup is excellent without being ruinously expensive. For most serious hikers who also care deeply about photography, this is where we’d start.
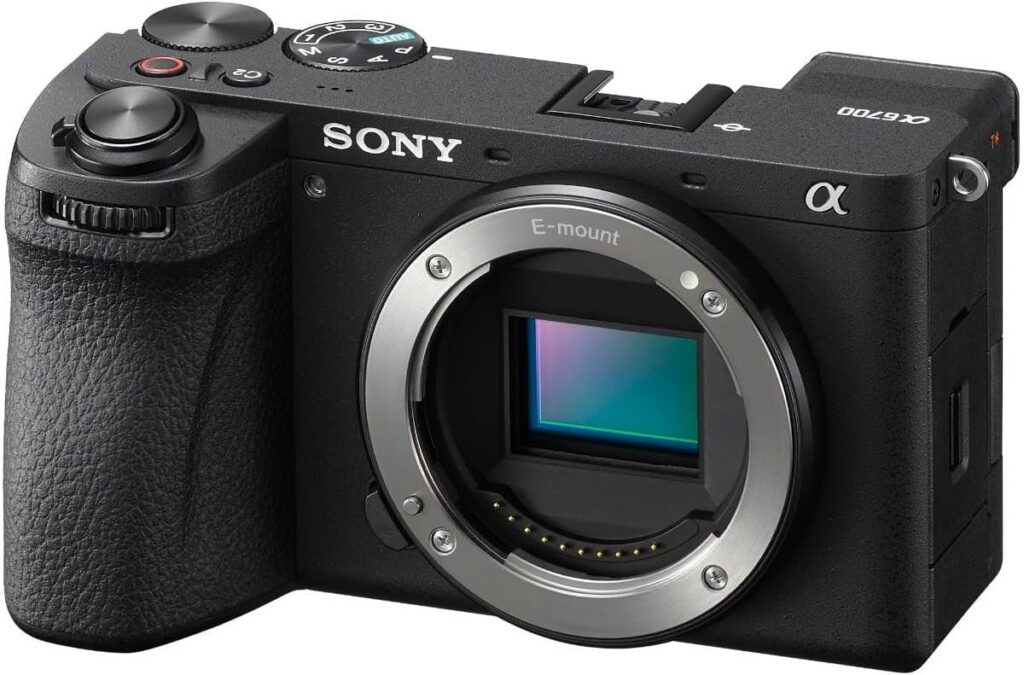
At around 493g body-only, the a6700 is one of the lightest weather-sealed mirrorless systems available. Its AI-powered autofocus with 759 phase-detection points is kind of mind-bending – it locks onto subjects in ways that makes anyone look like a better photographer than they really are.
Also, the E-mount ecosystem is enormous, with lightweight compact primes that pair beautifully with the system for a genuinely trail-friendly kit. Sony’s full-frame bodies like the a7 V are also worth considering for those wanting professional image quality in a relatively compact package, with the trade-off being larger, heavier glass.
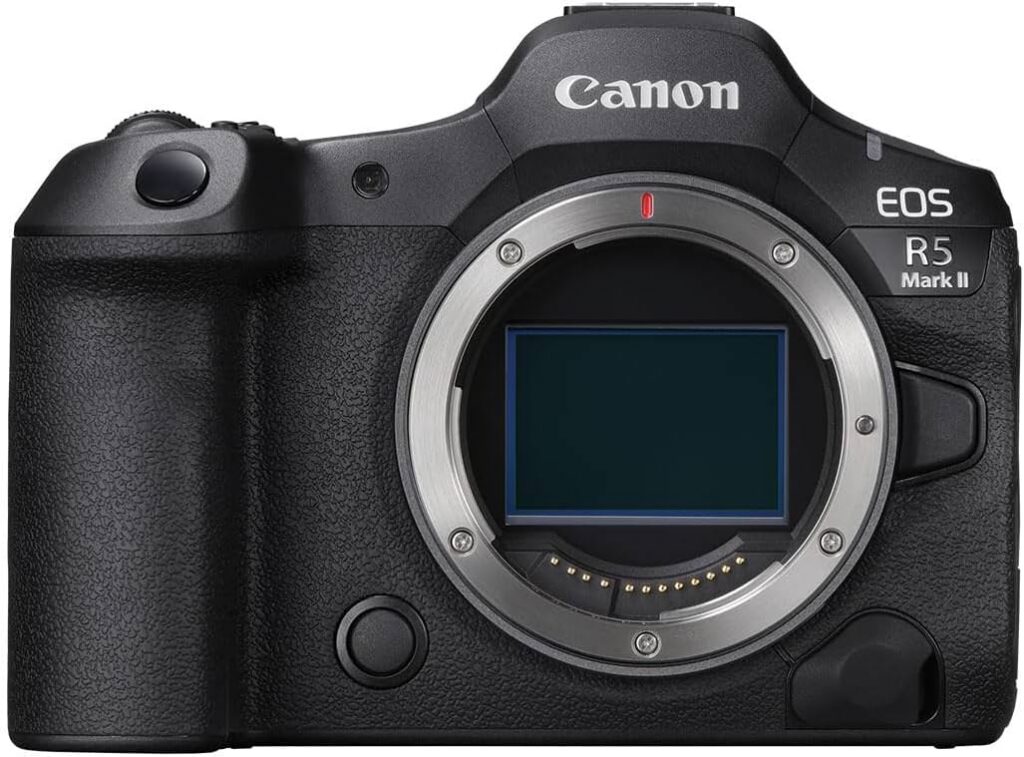
Canon EOS R5 Mark II (Full Frame)
Some members of our team are professional adventure photographers, and their camera of choice is the Canon R5 Mark II. This is a 45MP, full-frame beast with dust-and-water-resistant sealing, autofocus that borders on clairvoyant, and the ability to shoot 8K RAW. It weighs 746g with the battery, which is manageable on its own, but Canon’s RF lens lineup is notoriously heavy and expensive, so the full system weight adds up fast.
If the R5 Mark II’s price tag scares you off, it’s worth checking out the refined versions of this camera, like the R6 Mark III or R8. That said, if you’re building a minimal lens setup (perhaps a single fast prime and one zoom) and image quality is non-negotiable, hauling this into the mountains is a game-changer. Just don’t say we didn’t warn you about the price tag.
Lenses
If you decided to go the mirrorless route, your next big hurdle is deciding which glass to haul up the mountain.
The principle we work by is twofold: don’t overlap your focal ranges and choose your lenses based on the shots you want to take.
On those principles, every lens in your pack should be earning its place. Bringing a 24-70mm and a 50mm prime is wasted backpack real estate. If you’re going to carry two lenses, make sure they’re doing two genuinely different jobs.
Start With a Single Zoom
Remember what we said: camera gear for hiking is about compromise. A single zoom is a lens that can do most things competently, but nothing fantastically. It’s a lens that handles wide landscapes, group shots, and reasonable telephoto reach without becoming its own problem to carry – just don’t expect Nat Geo quality.
For the vast majority of trekkers shooting on an APS-C camera, something in the 16-80mm or 18-55mm range is the sweet spot. It is wide enough to capture a sweeping valley, but it punches in close enough to shoot a clean, undistorted portrait of your guide.
Depending on your chosen camera body for hiking, here are some options:
- Fujifilm XF 18-135mm f/3.5-5.6 WR: The ultimate one-lens solution for Fuji shooters. It covers a massive 27-206mm equivalent range and features solid optical stabilization. It is not the absolute sharpest lens in their lineup, but its weather-sealed versatility makes it a trail workhorse.
- Sony FE 24-105mm f/4 G OSS: The undisputed go-to for the Sony ecosystem. It is weather-sealed, optically stabilized, and incredibly sharp. If you mount this full-frame lens on an APS-C body like the a6700, you get a highly versatile 36-157mm effective range.
- Canon RF 24-105mm f/4 L IS USM: If you are shooting on one of Canon’s full-frame mirrorless bodies and want one, single lens that can do most things well, this is the glass you want bolted to the front of it. Yes, it weighs more than the cheaper variable-aperture lenses, but you get a constant f/4 aperture and pro-grade weather sealing.
Tip: If you’re new to mirrorless, or you just want a solid foundation to build from, one good walk-around zoom is the right starting point. You can always add lenses down the line once you understand what you’re actually missing while hiking, that’s one of the best things about going mirrorless in the first place.
The Ultra-Wide Angle (10-24mm)

If your main objective is capturing the sheer, imposing scale of the mountains, taking photos of fellow hikers on the trail, or shooting astrophotography, a wide-angle zoom is an excellent choice. A 10-24mm (on APS-C) or a 16-35mm (on Full-Frame) lets you pull the entire jagged skyline into the frame; it’s also fantastic for shooting inside a cramped nomad tent or a crowded tea house.
Just keep in mind the optical reality: wide angles push distant mountain peaks further away in the frame, making them look significantly smaller than they actually are to the naked eye.
- Fujifilm XF 16mm f/2.8 R WR: The rare occasion where a prime is the easiest recommendation for Fuji shooters. It weighs just 155g, is fully weather-sealed, and at 24mm equivalent, it sits in a sweet spot.
- Tamron 11-20mm f/2.8 Di III-A RXD (Fujifilm X / Sony E): If you want zoom flexibility at the wide end, useful for dialing in compositions without moving your feet on tricky terrain, this is the pick. Constant f/2.8 across the entire range, solid weather resistance, and at 335g, it’s impressively light for what it delivers.
- Sigma 10-18mm f/2.8 DC DN Contemporary (Sony E): At just 260g, this is one of the lightest fast wide-angle zooms on the market. The 15-27mm equivalent range on APS-C hits that ultra-wide sweet spot for landscapes, and the constant f/2.8 aperture makes it a capable option for astrophotography at altitude.
- Canon RF 15-35mm f/2.8 L IS USM: For Canon shooters who want professional wide-angle performance, this is the lens. Weather-sealed, optically stabilized, and sharp across the entire frame. It’s not light at 840g, so it’s a deliberate choice, but if wide-angle work is central to why you’re out there, it earns every gram.
Telephoto Lenses (100mm+)
A telephoto lens is exactly how you achieve that epic “compression” effect, making a massive, imposing peak look like it is looming directly over a tiny hiker. It is also mandatory if you want to shoot wildlife without scaring it away.
The trade-off is weight, and it’s a real one. Telephoto glass is bulky by nature, so the goal here is maximizing reach while keeping things manageable on the trail. The sweet spot for most hiking photographers is a 70-300mm range on APS-C: enough to pull in a distant summit or a bird of prey, without hauling what amounts to a small telescope up a mountain.
- Fujifilm XF 70-300mm f/4-5.6 R LM OIS WR: The most practical telephoto for Fuji hikers. It covers an effective 107-457mm equivalent range, is fully weather-sealed, and has 5-stop optical stabilization. It’s compatible with Fuji’s teleconverters if you need even more reach. At 580g it’s not featherlight, but it’s manageable.
- Sigma 100-400mm f/5-6.3 DG DN OS (Sony E / Fujifilm X): A sharp, well-built telephoto available for both Sony E and Fujifilm X mount. Weather-sealed, optically stabilized, and around 1,140g. The reach is exceptional for the price, and the autofocus is fast and quiet.
- Sony FE 70-300mm f/4.5-5.6 G OSS: Compact for a full-frame telephoto at 854g, with reliable weather sealing and Sony’s impressive autofocus tracking. A solid all-rounder for Sony shooters who want genuine telephoto reach without the bulk of a professional super-telephoto.
- Canon RF 70-200mm f/4 L IS USM: The lighter alternative to Canon’s f/2.8 flagship, and a much more sensible choice for hiking. At 695g with solid weather sealing and Canon’s optical stabilization, it covers the core telephoto range at almost a third of the weight of Canon’s popular 100-500mm f/4.5-7.1L IS USM.
What About Prime Lenses?
Prime lenses are incredibly sharp, lightweight, and perform beautifully in low light. But on a rugged expedition, the lack of a zoom ring makes them frustrating.
Yes, as hikers, we can technically zoom with our feet, but not on a narrow ridgeline.
We wouldn’t suggest building an entire kit around primes. The smarter move is one or two, placed strategically, depending on your most used focal length. A 35mm prime is the sweet spot, capable for landscapes, portraits, trail shots, and wide scenes without shrinking mountains.
- Fujifilm XF 23mm f/2 R WR (35mm equivalent): Fully weather-sealed, 180g, and fast enough for low-light camp photography. One of the best value primes in the Fuji lineup.
- Sony E 35mm f/1.8 OSS: Compact, lightweight at 154g, and optically stabilized — a rare feature in a prime at this price point. A natural fit for APS-C Sony shooters.
- Canon RF 35mm f/1.8 Macro IS STM: At 305g with optical stabilization and weather resistance, a versatile and relatively affordable entry into the RF prime lineup.
Tip: A wide aperture 35mm prime lens is a solid swap for a kit zoom if you’re willing to trade focal range for better image quality and low-light performance. Compromise, as always.
Drones

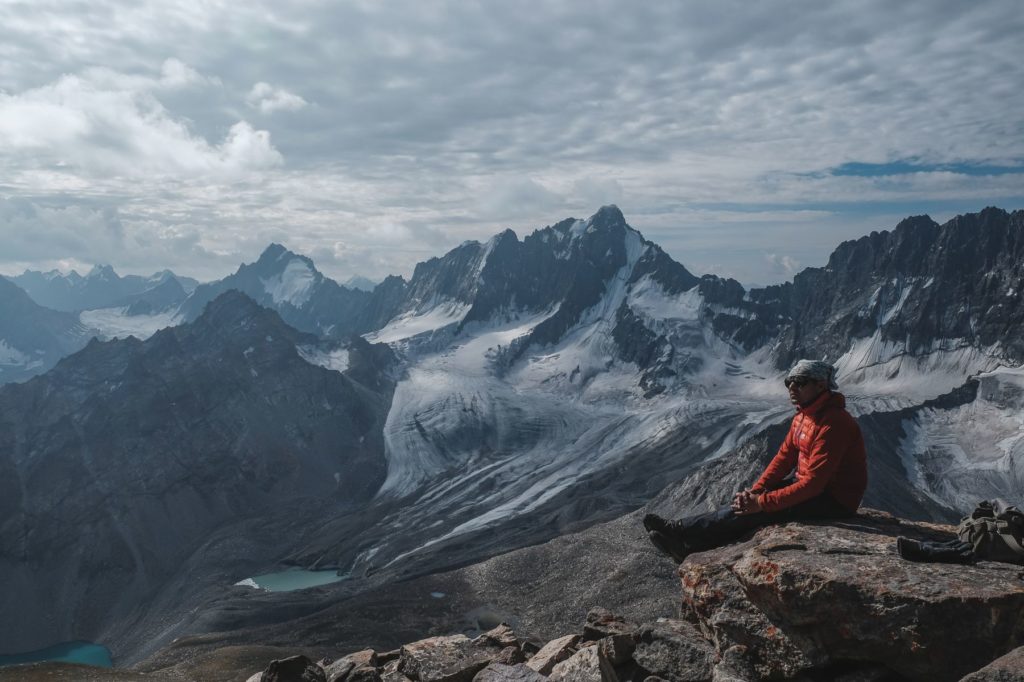
We don’t love drones on crowded trails. Nobody wants a buzzing quadcopter hovering over a viewpoint. But the destinations we tend to hike in, the Karakoram, the Mongolian steppe, the PNG highlands, are a different story entirely.
When you’re the only people within 40 kilometres, a drone gives you a perspective on the landscape that simply cannot be replicated from the ground. Vast glacial valleys, ridge lines dropping thousands of metres, a lone tent pitched at the edge of the world, these are shots worth the extra weight.
At the time of writing, there are no drone manufacturers worth seriously considering besides DJI. Full stop. Their build quality, flight performance, obstacle avoidance, and software ecosystem are in a different league from the competition.
- DJI Mini 4 Pro: The default recommendation for most hikers. At under 249g it sits below the registration threshold in most countries, shoots 4K/60fps with a 1/1.3″ sensor, and has omnidirectional obstacle avoidance.
- DJI Air 3S: The step up. At 724g it’s heavier and will require registration in most countries, but you get a 1-inch CMOS sensor, dual cameras (wide + 3x telephoto), up to 45 minutes of flight time, and significantly better low-light performance.
- DJI Mavic 4 Pro: The professional option and DJI’s current flagship. A triple-camera system with a 100MP Hasselblad 4/3″ main sensor, 48MP medium tele, and 50MP long tele, plus a redesigned 360° infinity gimbal that shoots native vertical footage. At 1,063g it’s heavy, but if aerial photography is central to why you’re on the trip, it earns its place.
Camera Backpacks

How you carry your camera gear matters as much as what you carry. You have two options: a dedicated camera backpack or a standard hiking pack with a camera insert.
Dedicated camera packs are built around your gear with padded dividers and quick-access panels. The trade-off is that most aren’t designed to actually hike in; the suspension systems are an afterthought.
For longer treks where camera gear shares space with sleeping kit, rain layers, and all your snacks, a standard 30-40L hiking pack paired with a padded camera insert is often the smarter call.
Dedicated camera packs:
- Atlas Packs Athlete (20-40L): Our team’s pick. Combines a proper hiking suspension system with a camera-first interior. Expandable, weatherproof, and built for actual trail use. The Atlas Adventure is also a great option if you need more space.
- F-Stop Tilopa (50L): A serious multi-day option with a large internal camera unit and bombproof build quality. Heavy at 2.2kg empty, but it can carry a full kit plus expedition gear.
- Lowepro PhotoSport Pro 55L: Weather-resistant, comfortable suspension, and a dedicated camera compartment accessible from the back panel without removing the pack.
Camera Inserts (for standard hiking packs)
- Wandrd PRVKE Camera Cube: Soft-sided, padded, and sized to fit most 30-40L packs. Protects a body and two to three lenses, and the new ones (V2) are water-resistant.
- Peak Design Camera Cube: Rigid enough to protect gear, compressible when empty. Works seamlessly with Peak Design’s broader ecosystem, or any backpack, really.
- F-Stop ICU: Available in multiple sizes, these are the most modular option that works with any backpack.
Accessories
Unlike most camera accessories, which exist to make your photography better, hiking camera accessories exist to make your life easier on the trail. Keep this list short.
Carrying your camera:
- Peak Design Capture Clip V3: One of our favorite hiking gadgets has forced us to mostly ditch the old camera strap for hiking. This metal clip bolts to your backpack shoulder strap, and a small Arca-compatible plate screws into the base of your camera. You slide the camera in, it locks with a satisfying click; press the release button to pull it out in a second. Your hands stay free, your camera stays accessible.
- Camera Sling (alternative to the Capture Clip): If clipping your camera to a shoulder strap isn’t for you, a good camera sling for hiking is the next best option. The Peak Design Slide is the most versatile since it converts between neck strap, sling, and cross-body carry, and the anchor system is bombproof.
- For a more dedicated camera holster for hiking, the Cotton Carrier Skout G3 keeps the camera mounted to your chest with both hands free, which works particularly well on technical terrain where you need your hands for scrambling.
Other accessories:
- Polarizing Filter: Particularly useful near mountain lakes, glaciers, and coastal approaches. A circular polarizer cuts glare off water surfaces, deepens blue skies, and pulls colour out of scenes that would otherwise look flat.
- Lens Cloth: A reusable microfibre cloth beats single-use wipes every time.
- Memory Cards: Bring a backup. On long-distance hiking trips, the last thing you want is a corrupted card wiping a week of shots with no redundancy.
- Extra Batteries: Cold temperatures drain batteries fast. Above 3,000 metres on an overnight, one battery is not enough. Carry two minimum, keep a spare in an inner pocket close to your body to preserve charge.
- Portable Battery Pack: Best case scenario is that your camera body charges via USB-C like your phone. In this case, a compact Anker power bank or solar charger with USB output is excellent. If not, Nitecore makes a range of compact camera-specific chargers that run off USB-C, so you’re still only carrying one power source.

Tripods
Tripods are heavy, awkward to carry, and they break up the flow of a day on the trail in a way that starts to grate by week two. Between modern image stabilization, a timed shutter release, and the fact that your backpack makes a surprisingly decent camera rest, you can get away without packing a tripod on most hikes.
That said, there are moments where a tripod earns its place, e.g., shooting astrophotography at camp, long exposures on a windy summit, or pulling off a clean self-portrait on a remote ridge with no one else around.
If you’re going to bring one, bring a lightweight tripod for hiking:
- Joby GorillaPod 3K: Not everyone’s cup of tea, but at 250g it’s almost weightless and wraps around rocks, branches, or any uneven surface. Works well for low-level shots and video. Struggles with heavier telephoto setups.
- Pedco UltraPod II: The minimalist option. Tiny, light, and folds flat. Best for compact and mirrorless setups on relatively stable surfaces. Not built for wind.
- Peak Design Travel Tripod (Carbon Fiber): Probably the best tripod for hiking and the one we’d recommend if budget isn’t the obstacle. At 1.27kg it packs down to the diameter of a water bottle and fits into a side pocket of most hiking packs. Extends to 152cm, holds 9kg, and the Arca-compatible head works seamlessly with the Capture Clip.
- HEIPI Travel Tripod: A Peak Design competitor that some of our team swears by. HEIPI’s super clamp is also a unique contender for an ultralight tripod alternative.

What You Should Leave at Home
Just as important as what you pack is what you don’t.
A Full Prime Kit
One or two primes, placed strategically, is fine. A 24mm, a 35mm, a 50mm, and an 85mm, leave them at home. Each lens you add represents a focal range you’re probably already covering with something else.
Plus, changing lenses can not only be annoying on the trail but also makes your system more vulnerable to debris. Some have even opted to carry two camera bodies to avoid changing lenses.
Your Heaviest Tripod
If the word “carbon fibre” isn’t on the box, it has no business being in your hiking pack. Better yet, reread the tripod section and ask yourself honestly whether you need one at all.
Big, Fast f/2.8 Zooms
A 70-200mm f/2.8 is a spectacular lens. It’s also 1.5kg. Unless you’re on a dedicated wildlife expedition, the f/4 or f/5.6 equivalent will do the job at half the weight. The exception goes for some zooms if you need astro performance.
A Drone in a Restricted Country
Check the regulations before you travel. Some of the destinations we operate in require permits, restricted zone clearances, or ban drones entirely in certain areas. An unresearched drone is a confiscated drone.
Gear You Haven’t Tested
A multi-week trek at altitude is not the place to discover that your new camera strap chafes, your battery grip drains faster than expected, or your filters don’t fit your new lenses. Test everything before the trailhead.
Additional Tips for Hiking with Camera Gear
A few things we’ve learned the hard way that didn’t fit neatly anywhere else.
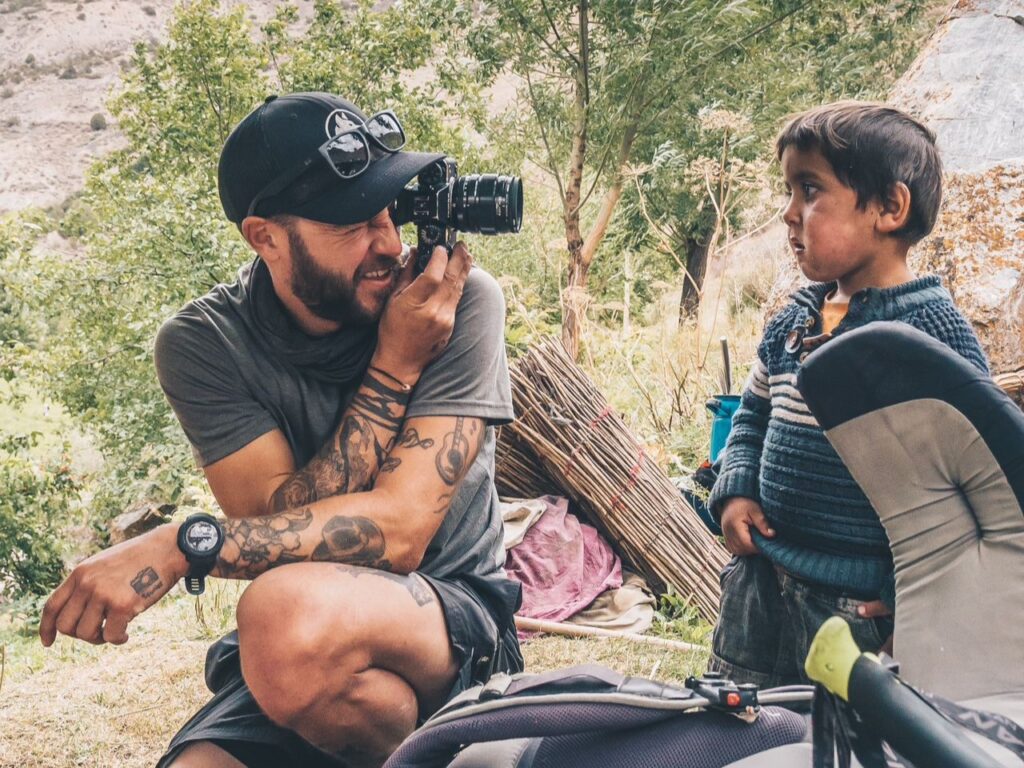
- Shoot as you go. The most interesting shots on a long trek are rarely at the summit. They’re the porter adjusting his load on a narrow trail, the low morning light cutting across a glacier, the chaos of camp being packed up at 5am.
- Insure your gear. Hiking with expensive camera equipment is a genuine risk. Cameras get dropped, bags get soaked, and customs officials in certain countries take a very close interest in expensive electronics. A solid trekking travel insurance policy that covers camera equipment is essential.
- Altitude affects your battery life more than you think. Cold and elevation are a brutal combination. What lasts a full day at sea level might give you four hours at 4,500 metres.
- Know when to put the camera away. This one takes experience. Some moments – a conversation with a local family, a particularly brutal climb, a shared meal inside a mess tent – are worth more as memories than photographs. The best hiking photographers we know are selective.
Ultimately, the best camera gear for hiking is the one that doesn’t stop you from actually experiencing the trip. Photography should add to the adventure, not become its own logistical ordeal, which is exactly the kind of thinking that underpins active travel done properly.
If you want to put your kit to work somewhere genuinely spectacular, we’d love to have you along. Our team are avid hikers and photographers – most of our clients hike with camera gear, and our guides know better than most how to find the shots that make a trip.
Come see what we mean, join us on an Epic Expedition!