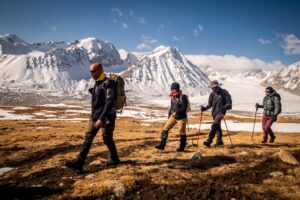

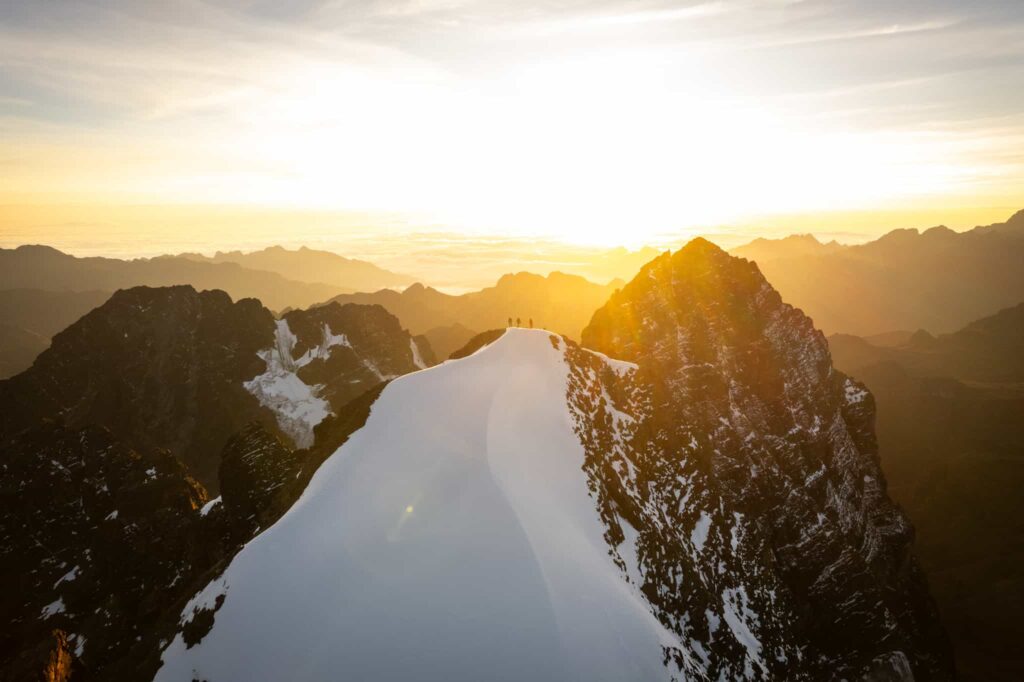
We’ve tackled our fair share of trails, and if there’s one lesson that always holds true, it’s this: the biggest risks in the backcountry don’t always come from the obvious. Sure, wild weather and altitude get the spotlight, but technical terrain—those boulder-strewn slopes, icy gullies, and unpredictable scree fields—can quietly become your biggest challenge if you’re not ready.
Preparing for mountain terrain isn’t just about lacing up your boots and heading uphill. It’s about knowing what you’re walking into, having the right equipment, and most importantly, understanding your limits. We’ve seen people trip themselves up—literally and figuratively—by biting off more than they could chew or skipping the prep work. The mountains don’t hand out second chances.
In this article, we’ll break down how to get yourself ready before stepping into technical terrain, the kinds of environments you might face, and what you need to know to move through them safely. Whether you’re planning a high-altitude expedition or just getting deeper into the backcountry, this guide will help you make smarter, safer choices out there.
Preparing for Technical Terrain Before Hiking
Before you enter into any sort of mountainous terrain, you should prepare yourself beforehand. Here are some ways to do that.
Having the Right Equipment
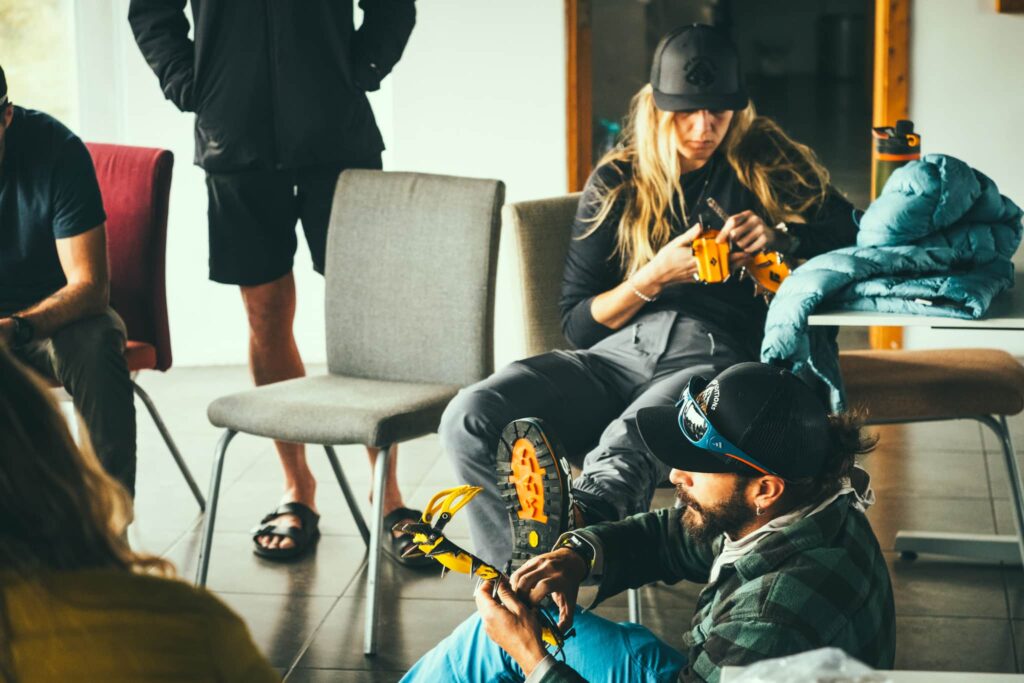
Before every serious foray into the mountains or wilderness, trekkers should do an inventory of their gear, making sure that:
- It works
- It’s suitable for the task at hand
- You have enough
- Nothing is missing
In these cases, checklists are your best friend, and we live by them on our own trips. Lay everything out on the ground or a table, inspect every item to make sure it won’t fail or be depleted prematurely, and then start packing to make sure everything can fit in your bag.
For that matter, you’ll want to make sure you have the right kind of gear, appropriate to the type of trek or expedition you’re doing. Potential for some icy terrain? You’ll want to have a pair of microspikes or, more likely, crampons that can be attached to a hiking boot. Not sure about the availability of water? Might take that extra can of fuel to melt snow, just in case.
To give hikers a better idea of what a multi-day trek or expedition entails in terms of equipment, we wrote this guide on the best expedition gear to have. Give it a look, make your own list, and then make sure you have everything you need.
Research Ahead of Time
We live in an age where almost every square inch of the globe is recorded and charted in some form. Maps, both physical and digital varieties, are very easy to get our hands on, and most are useful when it comes to planning a trip.
When it comes to researching the terrain you’ll be hiking on, it pays to have a topographic map specifically – something with elevation markings and contour lines. That way, you can get a feel for the terrain without actually being there. You will need to be able to read such a map (they’re not so clear to the untrained eye), but they are invaluable resources when you understand them.
Trail reports are also extremely useful when planning a hike or expedition. Guidebooks are the classic repositories, but there is no shortage of information online these days either. Summitpost is the gold standard, and there are often remote websites and forums dedicated to more specific regions. Local agencies will frequently release alerts and warnings about trail conditions and closures as well.
Just be cautious when researching things online: one can’t really know if the person speaking about the trail is indeed a trustworthy source or a total jerry. As always, do your due diligence when searching online and try to find some sort of consensus.
Choose a Hike Appropriate to Your Skills
Getting in over one’s head is one of the quickest ways to land oneself in trouble. The last situation that a hiker wants to be in is one that they’re not comfortable or capable of handling safely.
Just like any other activity that has some degree of risk to it, stick to the conditions that you know and slowly work your way. If you’re relatively new to hiking and are only doing half-day excursions on the weekends, don’t tackle a multi-day expedition, at least without some kind of expert support. If you don’t have that much experience in the alpine and don’t know how to handle more advanced terrain, don’t choose something that requires technical skills.
The key to becoming more adapted to the mountains is gradual exposure. That means progressively adding on an extra mile or two to your planned trips, trying out new gear one at a time, and slowly entering into new types of terrain. If you need to take a mountaineering course to feel more equipped, do that. It will be worth the money spent if you’re serious about alpine environments.
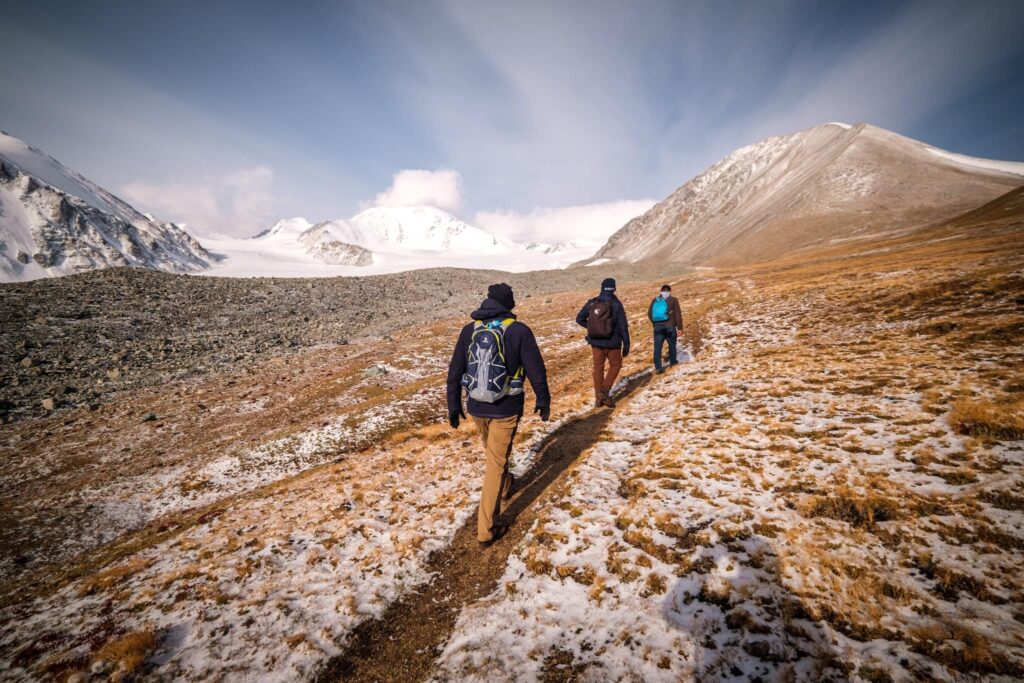
Types of Mountainous Terrain to Be Ready For
What kind of terrain is in alpine environments? Of these, what can be considered “technical terrain”? Let’s break down what you should expect on a potential mission into the mountains.
River Crossings
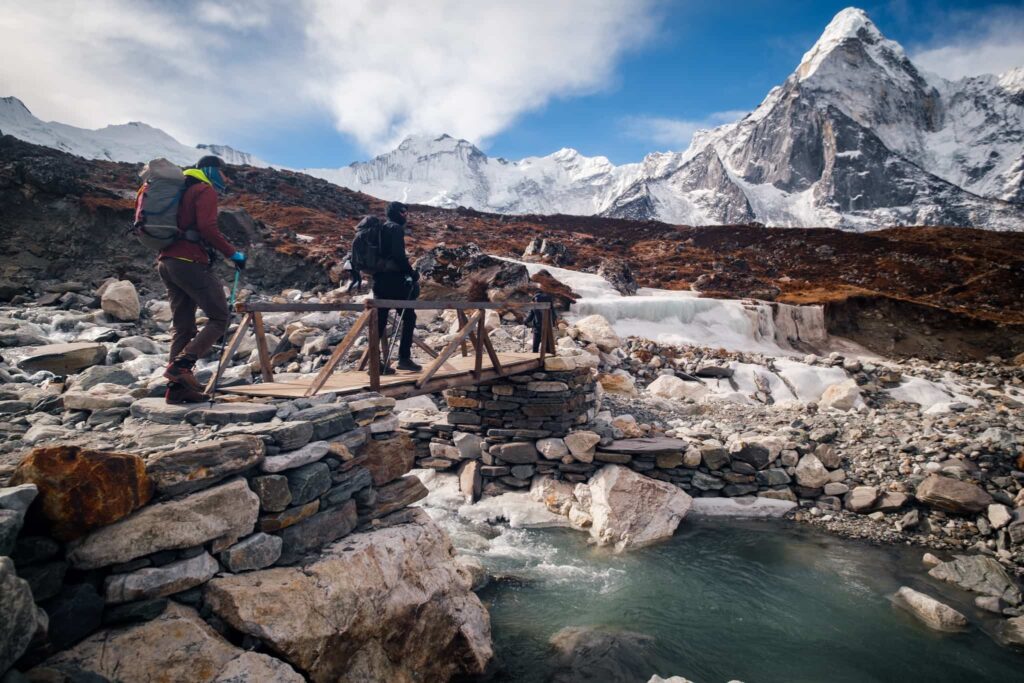
The first significant natural feature that you might encounter in the mountains is also one of the most dangerous. After falling, drowning was one of the leading causes of death in the backcountry. These are not to be taken lightly.
That being said, most river crossings are fairly straightforward. On most established routes, where many people are trekking, there’s usually some sort of system in place, such as a makeshift bridge or even a rope.
If this is not the case, you should still be able to handle the crossing, so long as the water is not too high, too swift, and there are no hazards. Make sure the water is not above your thighs, is not a torrent – i.e. whitewater – and that nothing dangerous is flowing downstream. Keep in mind that if you’re trekking in the mountains, the river is probably snowmelt, which means it will be frigid.
Depending on the situation, you might be able to cross in your bare feet or rugged sandals, but if the river is strong, you should probably keep your boots on for extra traction. It will make for some uncomfortable hiking, and you’ll need to prioritize drying them out at camp, but it’s better than losing your footing and getting swept away.
Boulder Fields
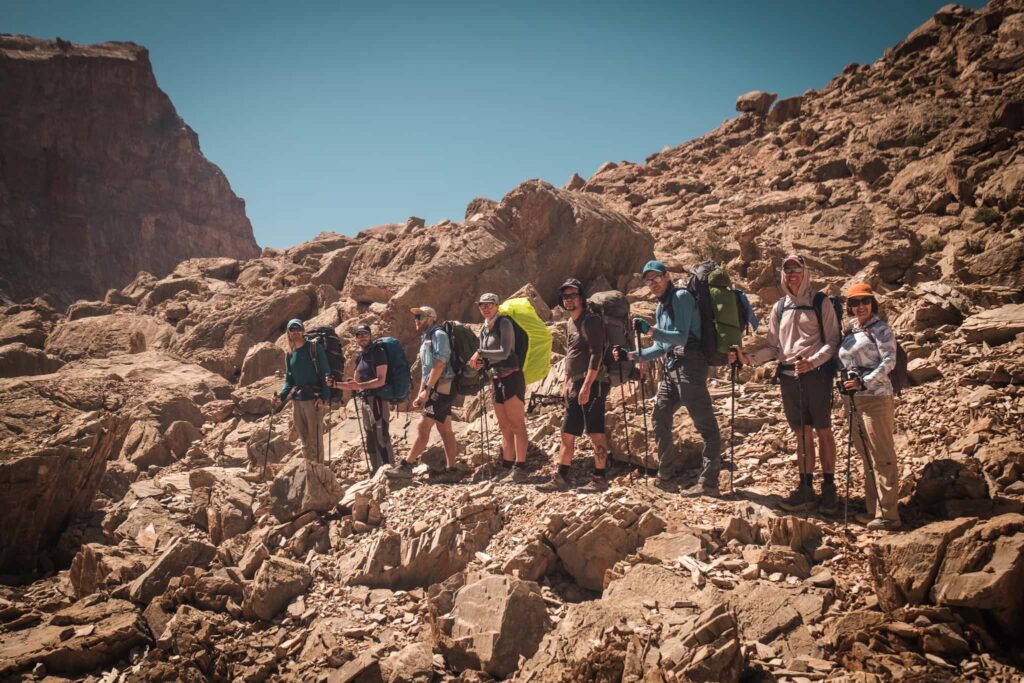
As the name implies, a boulder field is simply a large open area that is mostly covered in (you guessed it) boulders and large rocks. Unlike talus and scree, which are simply piles of tumbled rock, boulder fields are actually formed through millennia of erosion, where a combination of the elements and geological events has slowly broken them down. Thus, they’ve never really moved.
For hikers, navigating boulder fields can either be one of the most enjoyable or most tedious legs of a hike. While we love hopping from giant rock to giant rock, ankle injuries are just waiting to happen. One wrong step into a gap could quickly turn into a serious situation. Smaller boulders can easily shift as well, slowing your progress and increasing the likelihood of an accident.
For that matter, while boulder fields can be set in very beautiful landscapes, they themselves are typically monotonous, so much so that everything looks the same directly in front of you. It’s easy to get disoriented in a boulder field with no distinct trails or features, and then get lost. Take your time in a boulder field, being sure not to misstep and regularly keeping your eye on a landmark or waypoint that you can track.
Talus and Scree
While some hikers might enjoy boulder fields at times, most would agree that talus and scree slopes absolutely suck. Created from fragments falling from the surrounding mountains and cliffs, hiking up one of these is an experience that can be tolerable but is more often frustrating.
Technically speaking, talus slopes are classified as having larger rocks, boulder-sized even, and are usually more secure. On the other hand, scree is composed of smaller rock bits and is usually more prone to sliding or shifting. It is this tendency of moving underfoot that makes hiking up scree so maddening: for every two steps you take up, you take one down.
For the most part, talus slopes are not particularly dangerous. Rockfall is an issue, since that’s how the stones got there in the first place, but talus is stable for the most part.
Scree, on the other hand, can be hazardous to descend (as if ascending it wasn’t already bad enough). Slopes are often steep, and if you fall, you could start to slide, almost as if you were on snow. Unlike snow though, you will be sliding on shards of a much harder substance. There’s a good chance you could damage your clothes and suffer significant bruises or lacerations. Stopping is usually a matter of digging your feet or a trekking pole into the ground and bracing yourself.
Gullies and Chutes
Narrow channels cut into the sides of mountains, gullies and chutes often provide a more direct access to the top. They can vary quite a bit in terms of incline and obstacles, and can contain everything from rocks to water to debris to snow and more.
Generally speaking, gullies are more benign and can usually be navigated with just a little extra effort. Despite being constricted on both sides by some sort of natural barrier, the ground may be quite straightforward.
Meanwhile, chutes are more often much narrower and much steeper, so much so that technical gear might be required to ascend them. In colder climates, snow and ice can be a permanent fixture in chutes (this is usually when we start calling them “couloirs”). Chutes can funnel rock and ice fall directly onto the party as well, and there won’t be much room to spread out and dodge. Extra precautions should always be taken when shimmying up these.
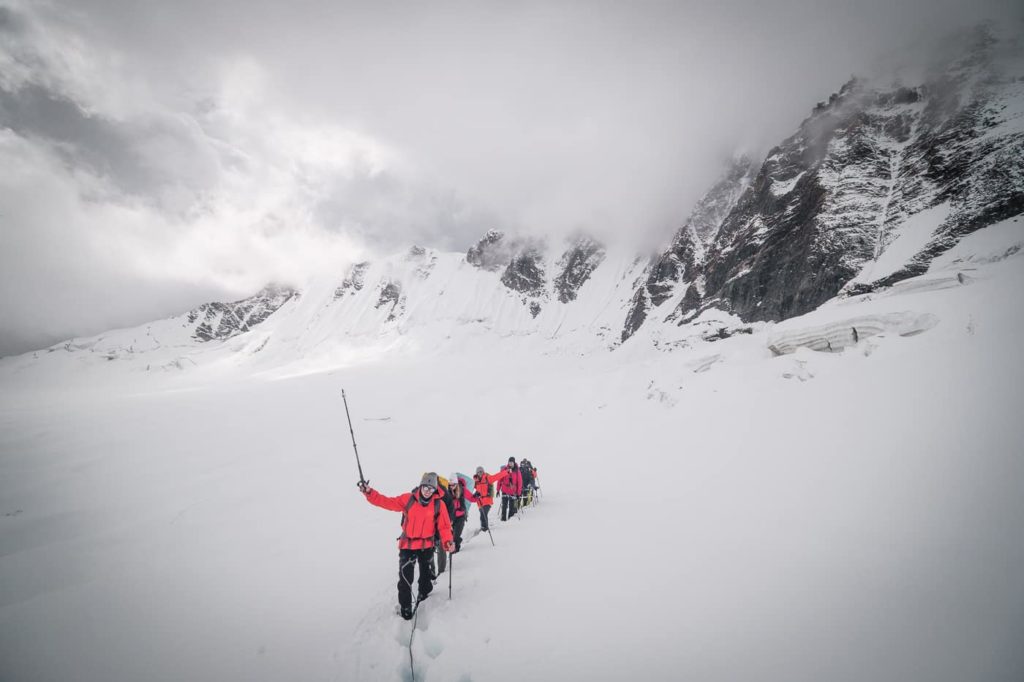
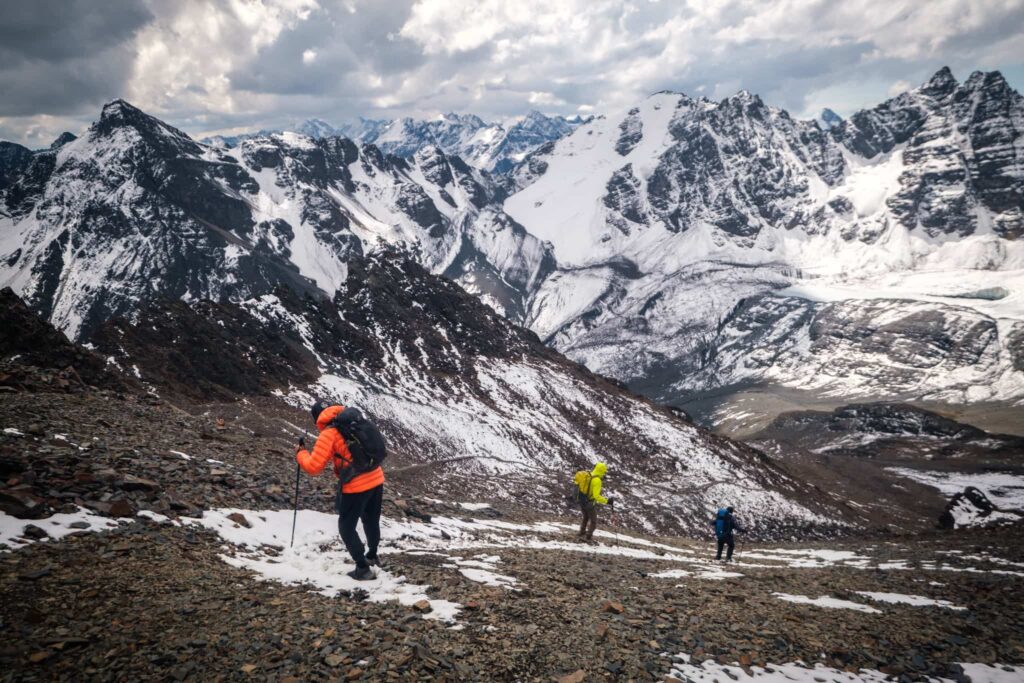
Snowfields
Snowfields are not glaciers. If a hiker sees snow in the mountains, even in the summer, it doesn’t mean it’s a glacier either. Unlike glaciers, which have their own special mechanics, (permanent) snowfields are just patches of snow that fail to melt, for one reason or another.
Crossing a snowfield isn’t necessarily the same as crossing a glacier either. Notable glacial hazards, like crevasses and seracs, will most likely be absent; a lot of the time, it’s just a matter of proceeding with caution.
Snowfields can still be perilous to cross depending on the surrounding terrain. If you’re on a slope, slipping could mean falling into a bad place; for that matter, snow can also hide important features, like the edges of a cliff. Despite not being as objectively dangerous as a glacier, hikers should still proceed with caution, be sure-footed, and use crampons or microspikes as needed.
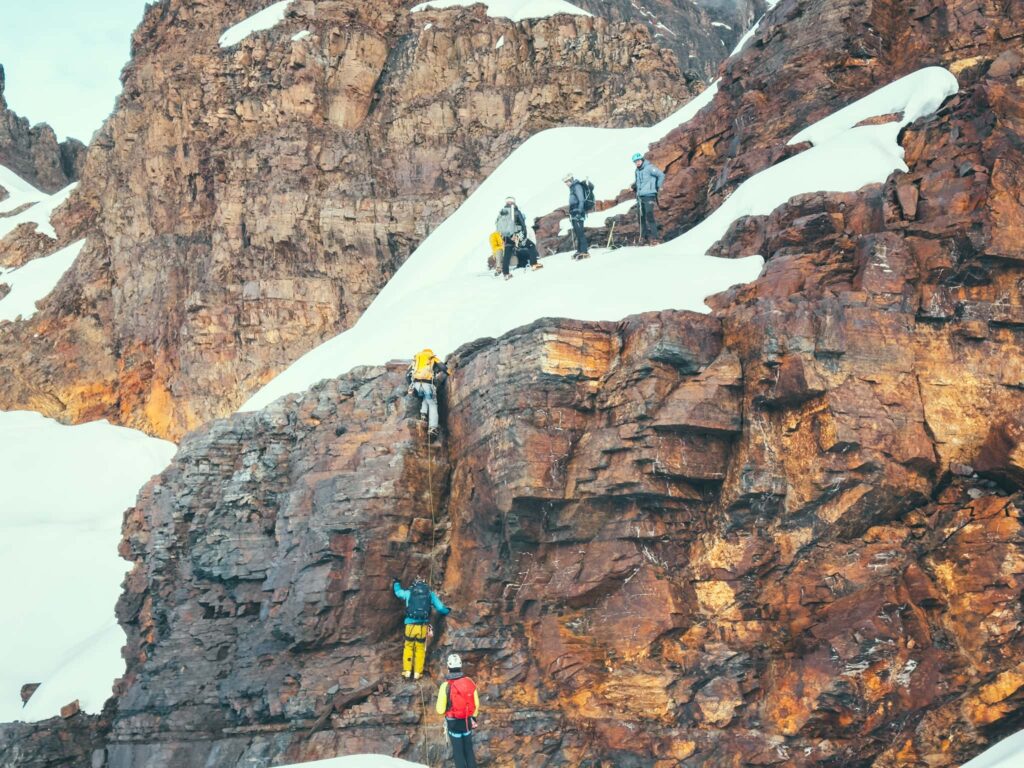
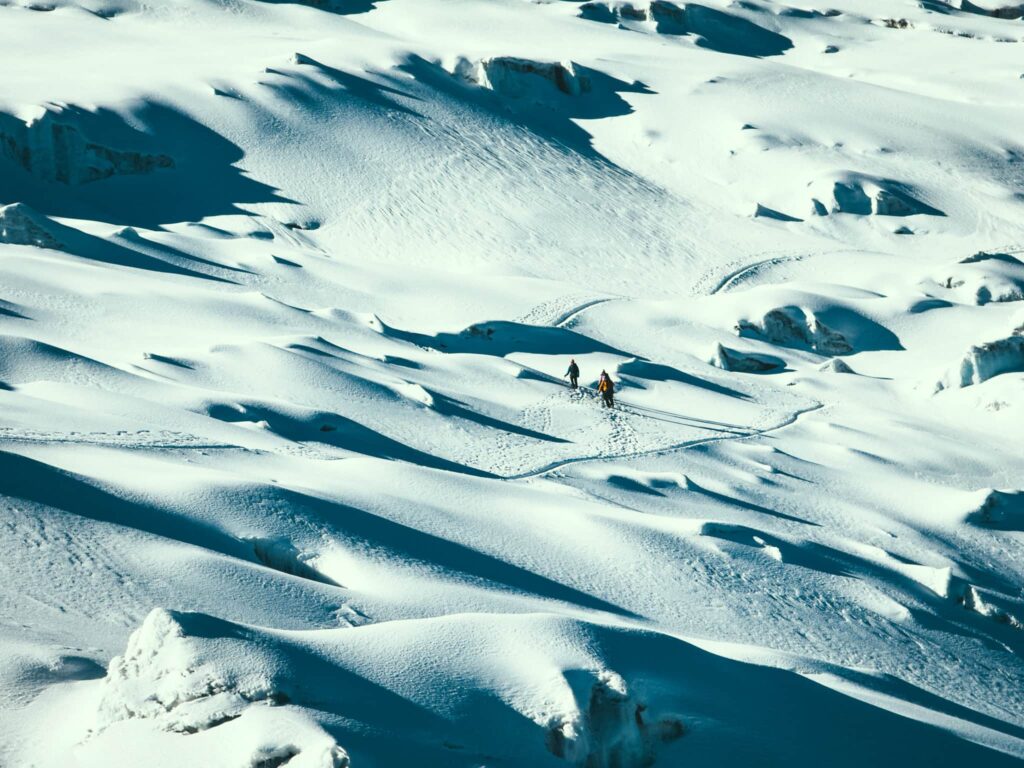
Glacial

Glacier travel is a whole different ball game; entire courses are often dedicated just to learning it. Crossing one can sometimes be the crux of a climb or trek in the mountains, and is never to be taken lightly. For that matter, hiking alone on a glacier is usually asking for trouble, unless the glacier is truly rock solid, which is rare these days.
While a glacier may seem like just a big block of ice, it is so much more. Glaciers’ most defining characteristic is that they are moving, pushed by their own weight and the freeze-thaw cycle. Their depths are often labyrinthine and can hide all sorts of surprises that you don’t want to find yourself in.
If hikers are beginning to enter more technical mountain terrain where glaciers are more common, then they should definitely consider taking some sort of glacier course. These are great for learning fundamental techniques, like rope travel and rescue, and can unlock huge new areas of the mountains.
Glacial Features
While we can’t go too deep into glacial travel, given the scope of it, here are some glacial features that you should be aware of:
- Moraine – All of the debris that the glacier has pushed out throughout its slow movement, which piles up at the terminus or “snout”. These can resemble a boulder field or talus, and will need to be navigated to enter or get on top of the glacier.
- Crevasses – Openings in the glacier that form from the stress of the glacier moving. These can range from small cracks to canyons of ice, a lot of the time hidden under a sheet of snow. Crossing these should never be taken lightly, and one should assume that they can occur at any place and time on a glacier.
- Seracs – Mangled towers and pillars of ice that are the result of the glacier compressing and shooting upwards. These are usually highly unstable and will collapse at any moment. Walking amongst these should be done with extreme caution and avoided if possible.
- Bergschrunds – A crevasse of sorts in the sense that it’s a large gap in the glacier, but occurs where the glacier meets the earth again. Crossing these is generally more difficult than crossing a standard crevasse.
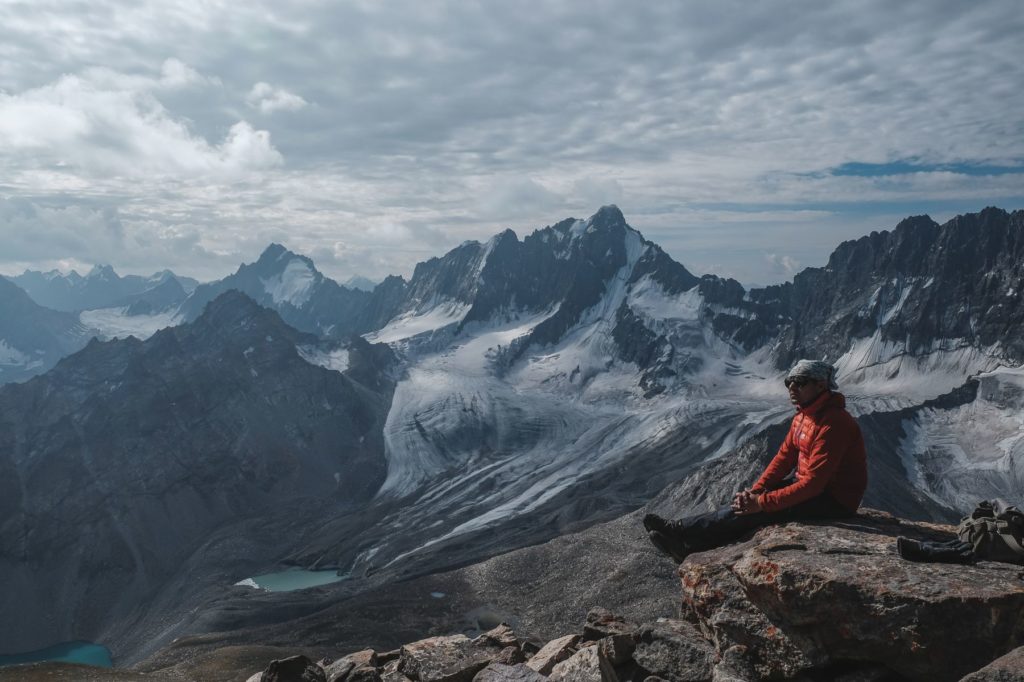
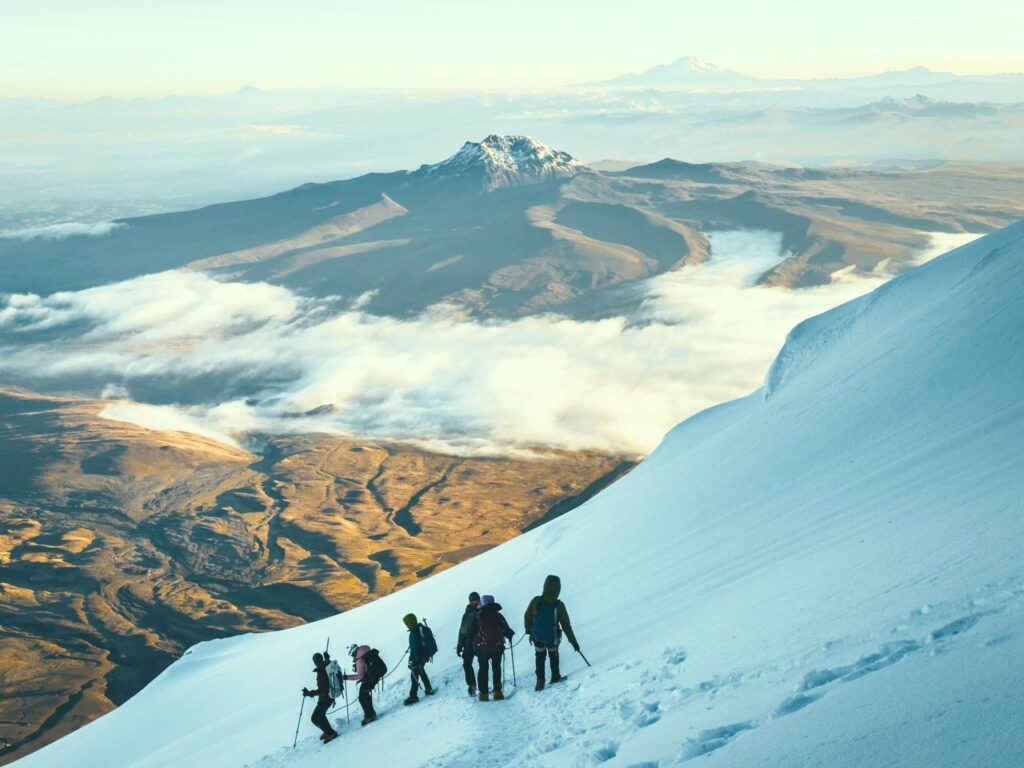
Passes and Summits
The end goal for most trekking and climbing expeditions! And sometimes, the most straightforward mountain terrain you will encounter. Passes are gaps in the mountains that usually need to be tackled to reach a new area; summits are simply the top of said mountains. Both require a lot of ascent and descent, in other words, a lot of thigh-burning walking.
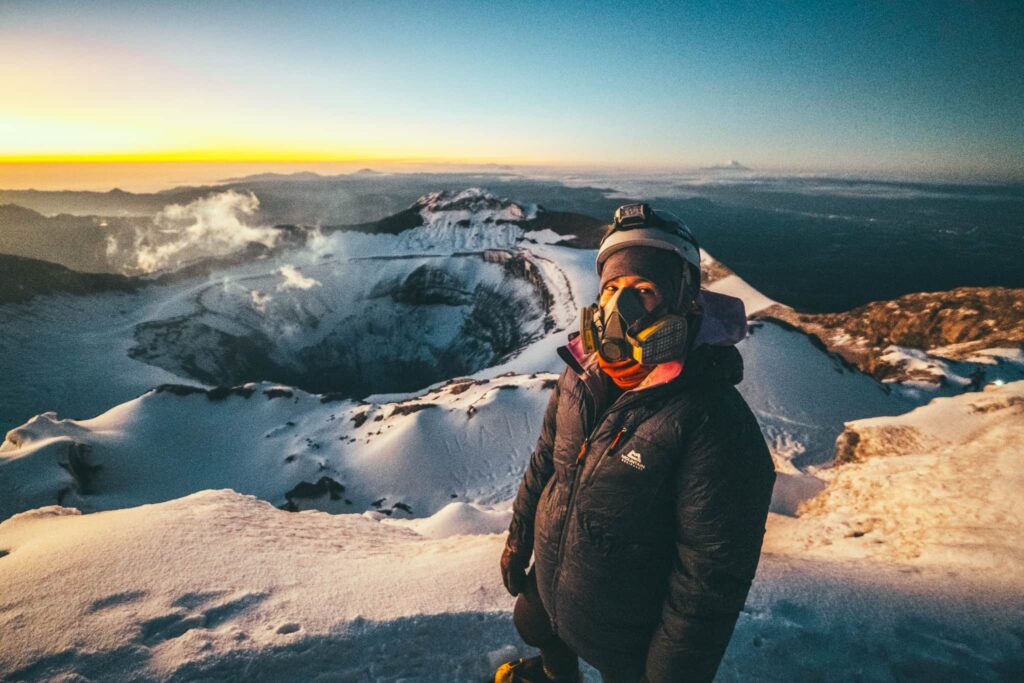
Passes and summits are not inherently difficult, technically speaking; some are just glorified walks at higher-than-normal inclines. Volcanoes, such as those on our Ecuador trip, are good examples, as well as Gondogoro La: a high-alpine pass featured on a trek to K2 Base Camp. Both require little if any technical alpine skills.
That being neither summits nor passes are necessarily walks in the park. Both can feature class 4+ natural obstacles, which will require roping up and ascending using climbing gear. Take into consideration that the way to summits and passes often features several of the terrain types that we’ve already mentioned. Putting them altogether creates a puzzle that trekkers will need to figure out if they want to succeed.
Reading the Terrain
So we’ve talked about getting ready before a hike starts, as well as the types of terrain you might encounter in the mountains. It’s time to put everything together and hit the trail.
Plan Your Route Accordingly
Once you’re in the zone that you’ll be hiking, you should already have a general idea of your geographic surroundings, thanks to your research and maps on hand. You should also have a good idea of where you need to go.
These days, it’s very easy to rely solely upon a digital map of some sort. Cartographic apps, like Gaia, AllTrails, and even Google Maps, are quite powerful and provide huge suites of tools that you can use both before and during your hike. You can even import GPX recordings to use as references for your own hike.
That being said, plans change all of the time, either because of want or necessity. You may find yourself in a situation that requires a little bit of improvisation and deviation from the original plan. In such cases, it’s good to be able to think on your feet.
When planning a new route, always make informed decisions. Understand what kind of terrain you should expect, even if you can’t see it (thanks to good map reading), and consider what navigating this terrain might require. Make a list of possible challenges, estimated distances, complications, and capabilities of the hikers, and then weigh your options.
For that matter, if the situation could be dicey and can possibly be avoided, always choose the safer, more assured route. Many trekkers perish because of a lack of patience and foresight – most disasters can be avoided in the backcountry with prudence.
Taking Breaks
Eager trekkers sometimes have a habit of blitzing through a hike to get to camp or back to the trailhead. While hiking fast is not something we discourage, hiking without regard for one’s own body can be an issue. Although we may not feel it on shorter hikes, going days in the wilderness can take a significant physical toll.
Hikers must remember to take care of themselves on the trail. That means:
- Taking breaks every 45-90 minutes to rest and rehydrate
- Eating and snacking properly so that they have the necessary fuel
- Leaving mental baggage at the trailhead and/or not letting it compromise the trek
- For longer trips, daily care for your body, in particular your feet, neck, and back.
Trekkers must avoid wrecking themselves in the middle of a trek. That can come in the form of more pre-trip preparation, like an expanded fitness program, or being aware of themselves on the trail. If they’re tired, thirsty, hungry, or emotionally unwell, these things must be addressed. A little rest, a water break, a quick snack, and a moment of reflection or conversation can do wonders.
Choosing a Good Camp
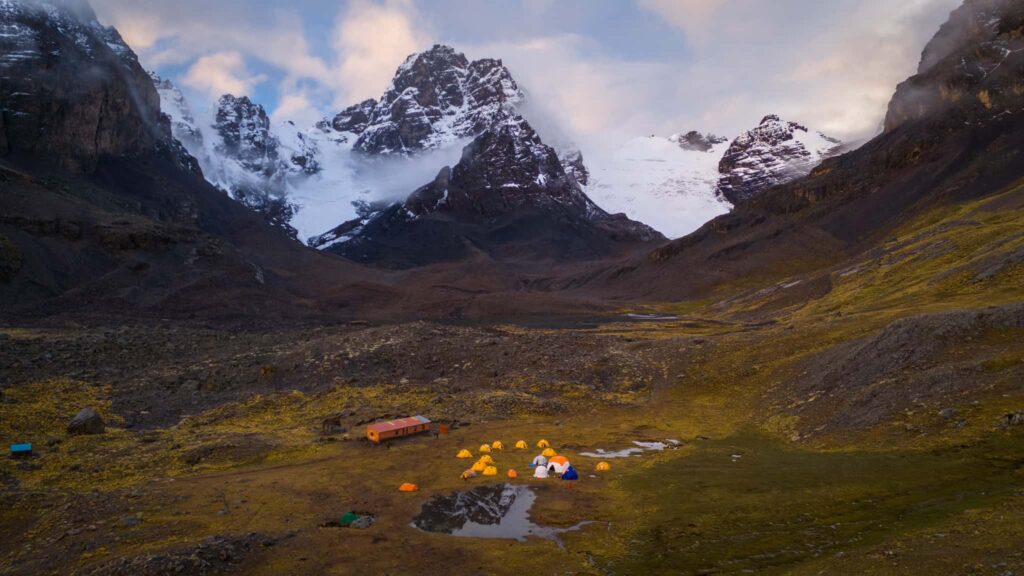
Finishing the day’s trekking and getting to camp can be a huge relief. Choosing and making a good camp though can be tedious, especially if hikers are tired and ready to wrap it up already.
Still, camps should meet certain criteria if they’re going to be safe and effective. Even in the backcountry, location means everything, and if you can carve out a good spot, you’ll be setting yourself up for success as you strike deeper into the mountains.
Here are some things to consider:
- Water sources should be relatively accessible, but they should also not be compromised. Avoid making camp directly next to water to avoid contamination, but don’t make it too difficult to access.
- Consider the immediate terrain. A base camp with good sunlight, flat ground, and good views can be extremely convenient, but not at the expense of safety. If a potential camp is not secure because of hazards like rockfall or avalanches, it should be disregarded.
- You want to be somewhere that is within striking distance of the trail or your objective, but not necessarily on top of it. You don’t want other hiking groups walking through camp, but you don’t want to be totally isolated. Keep a healthy distance.
- Be ready and willing to make an emergency camp. Certain places may not be ideal, but sometimes they’re your only option. If you are forced to camp somewhere a bit colder and exposed, it beats being somewhere objectively dangerous. Good gear and a bit of know-how can help fill the gaps when the perfect camp can’t be found.
Additional Tips for Staying Safe in the Mountains
Here are some additional things to consider when hiking in the mountains:
- Be aware of surroundings – So much can be avoided just by paying attention to our surroundings; the mountains deserve as much as we can provide. Trekkers must apply themselves by regularly checking maps, marking waypoints, gauging the situation, and communicating with their team. If a storm is brewing and you still have to cross some technical terrain, you should seriously consider the risks of doing so and maybe even stop short.
- Remember to factor in altitude – We’re not just talking about getting ready for a big push up a steep slope; we mean how you’re going to feel when you get there. Beyond a certain point, altitude can have a significant impact on the body, which can then lead to altered physical and mental performance. What started as a simple trek in the mountains could be much more complicated. Understand how altitude affects you before heading out.
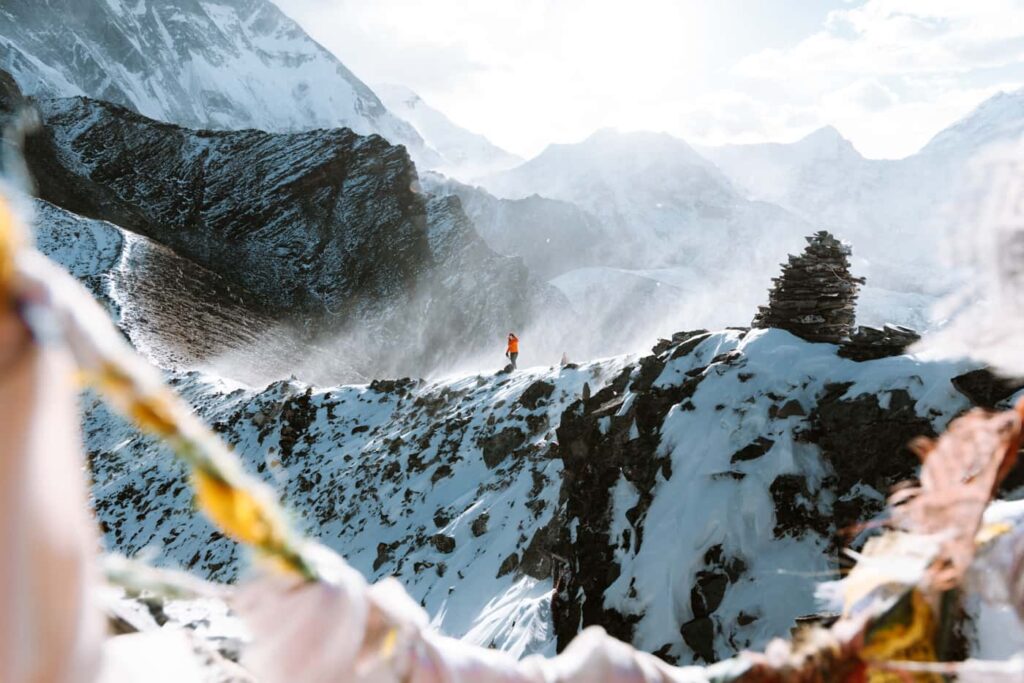
- Avoid hazardous terrain – We’ve been harping on it, but if trekkers don’t feel comfortable navigating certain types of technical terrain in the mountains, they shouldn’t go there. We haven’t even covered more serious hazards like cornices and avalanche slopes, which will be more frequent occurrences as trekkers go deeper and higher into the mountains. Know your limits and stay clear of terrain you don’t know or trust.
- Inclement weather – A storm can happen at any time in the mountains, and when they do, they usually develop fast. Aside from the usual afternoon thunderstorms, trekkers must be ready for more serious systems, which can take days to clear. Make sure your gear, especially your tent, is bomb proof, find a sheltered spot to weather the storm, and, unless it’s a minor rainstorm, don’t go anywhere until things calm down.
- Whiteouts – Aka walking inside of a ping pong ball. These occur quite frequently in the mountains and are low clouds that settle on the mountains, creating zero visibility. Route-finding becomes challenging in these situations, so you’ll need to proceed with extra caution. Use physical markers if you have them (wands, tape, cairns, etc) and take it slow. Check your GPS if you have one, but don’t become overly reliant. You may not get as far as you’d like when these happen, but it’s better than going over a cliff.
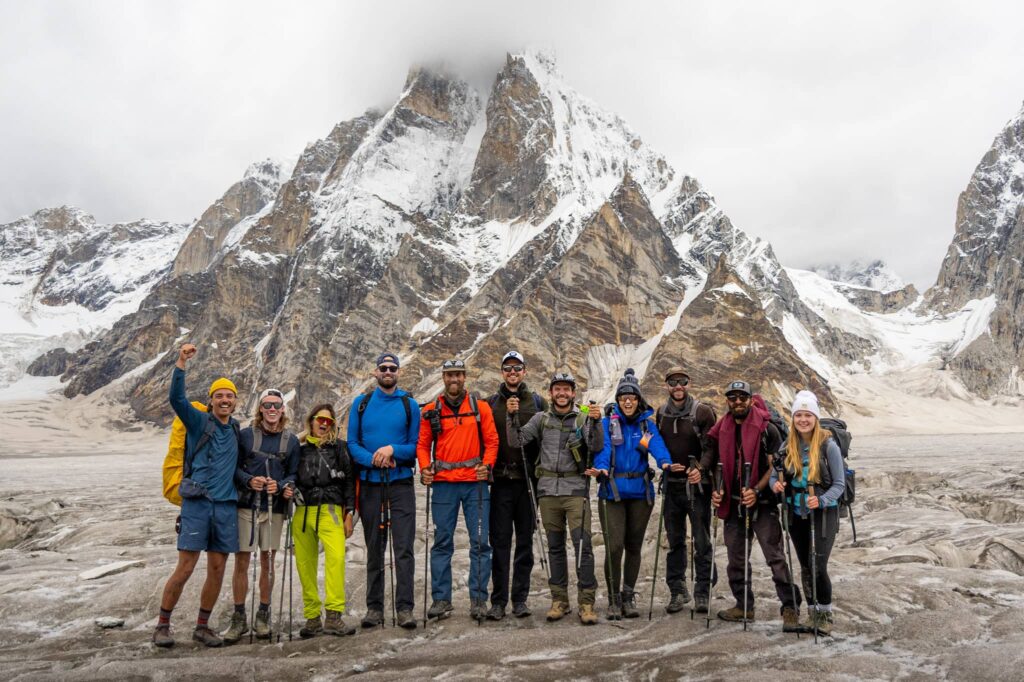
Getting Back Home in One Piece
We love trekking in the mountains and what the activity does for our well-being. We also love getting home for that much-deserved post-hike shower or beer.
So let’s make sure we get there without any issues.
Getting out of the mountains is very much the same as getting in. Above all, we want to ensure that we’re still exhibiting situational awareness, avoiding dangerous terrain, making informed decisions, and taking care of ourselves.
On that note, we must remember not to rush ourselves: finish line fever is a real phenomenon, and many injuries happen because people rush and drop their guard towards the end of things. We need to end a trek as strong as we started it, and treat it with the same deference.
Take the tips and information presented in this guide with you into the mountains: it will serve you well to know more about alpine terrain and how to handle it. The more we know about them, the more we understand their power and can protect ourselves from danger.