Barah Broq is one of the best ways of seeing K2 in a relatively quick manner. Not only that, it also features quintessential Karakoram scenery and the chance to come into contact with communities that rarely see outsiders.
Thing is: hardly anyone knows anything about Barah Broq. It has only become a hiking destination in the last few years and there is little to no information out there about how to visit here.
This article is the first of its kind: a total overview of what it takes to complete the Barah Broq trek. I’ll talk about everything from gear requirements to a day-to-day breakdown to whether or not you need a guide or not.
This is the ultimate resource for one of the most exciting and underrated trails in all of Pakistan.
So let’s get to it then.
Preparing for the Barah Broq Trek
Barah Broq is a multi-day hike so you will need to be properly equipped for one. That includes clothing, camp equipment, cooking supplies, food, the works. There is nothing in the valley beside a lone shepherd’s camp halfway up. Self-sufficiency is critical.
Below is a list of items that we recommend bringing:
- 25-35 liter hiking daypack or a large 60-70 liter hiking backpack*
- Filtered water bottle
- Warm sleeping bag (preferably 4-season)
- Sleeping pad
- Headlamp
- Trekking poles
- A good pair of trekking boots
- The proper clothing/layering system
*If you undertake the Barah Broq trek with Epic Expeditions, we will provide all essential items, including food, kitchenware, and cutlery. Porters will carry the majority of the gear – all you need to do is carry a daypack with your essentials. A large 60-70 liter backpack will not be necessary.
Do You Need a Guide for the Barah Broq Trek?
You should definitely hire a guide to do the Barah Broq trek, if not for the sake of support then for respect. The terrain can be difficult sometimes and one can easily get lost in the many boulder fields, particularly in those just before the summit of Moses Peak. A guide will be able to safely show you the way.
Hiring a guide is also a good way to support the local economy. The people of Barah claim the rights of land to the valley and employing them to show you it is generally seen as customary. If you want to hike independently, you can (few if anyone will harass you), but bringing a guide is a sign of goodwill and will make your trek smoother.
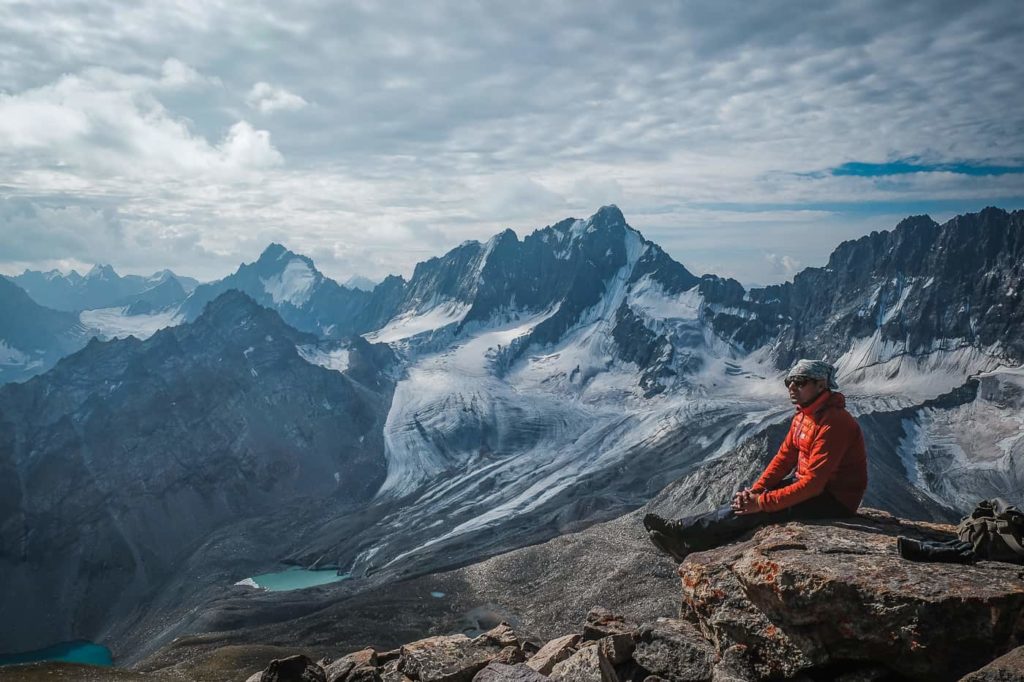
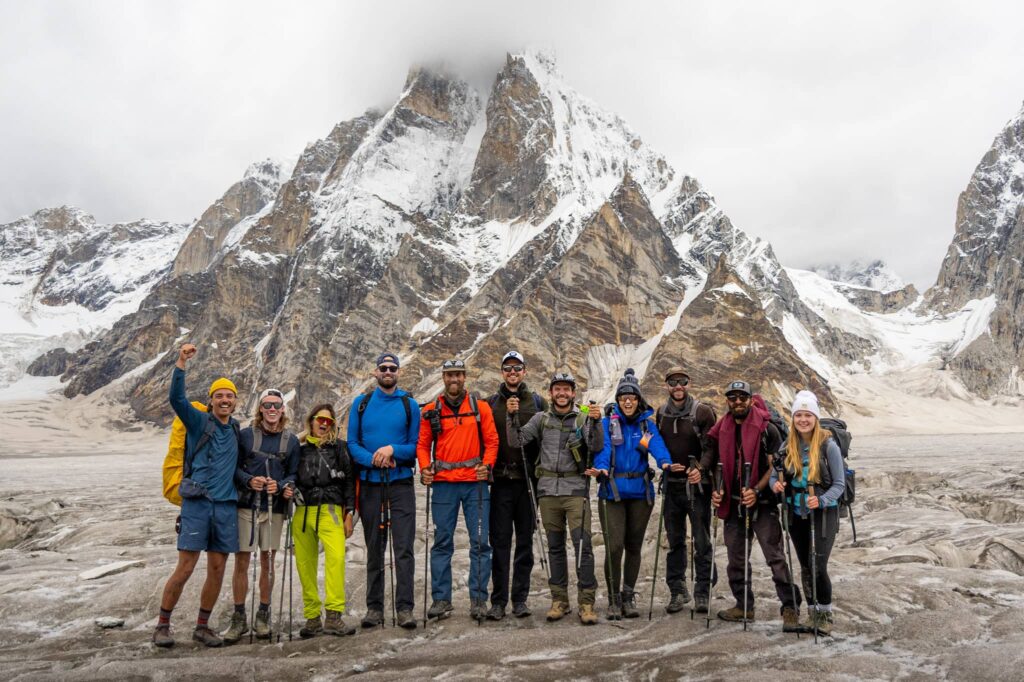
Epic Expeditions only employs local guides, porters, and cooks from Barah on the Trekking Amongst Giants program. We usually have a team of about 9-12 villagers with us and live relatively comfortably on the trail. The cook team we use, in particular, is exceptional.
(If you don’t know much about what the food in Pakistan is like already, here’s another blog post we wrote all about the subject.)
Getting to the Barah Broq Trailhead
First thing’s first, you need to arrive at Skardu: the largest city in Northern Pakistan and the jumping-off point for most of the treks in the area (including K2 Base Camp). To get to Skardu, you can either:
- Take a scenic flight from Islamabad, Lahore, or Karachi (45-120 minutes)
- A shared taxi or shuttle (16-24 hours)
- A local NATCO bus (24-36 hours)
If you can take the flight, do it, as it is by far the most convenient way of reaching the north and tickets are pretty cheap these days as well. Flights are often canceled though due to bad weather so consider a shared taxi as a backup plan. Either way, set aside at least two days to reach Skardu.
From Skardu, you will need to arrange transport to the village of Barah, which is around 3 hours away by car. Again, a shared taxi or shuttle is your best bet – make sure you have a ride back of course. There is a local bus that plies the route between Skardu and Khaplu, stopping at Barah along the way, but is often very crowded and inconsistent.
The trail to Barah Broq starts above the village of Barah, specifically between Barah Paine and Barah Bhala*. These villages are labyrinthian at times and navigating them can be a nightmare for the unaccustomed. Follow your guide closely, and feel free to snack on the endless rows of apricot trees on your way up.
The trail officially starts, in my opinion, at the bridge crossing the river, just after the pathways from Barah Bhala and Paine meet.
*The “village” of Barah is actually a collection of twelve different villages spreading out in succession on the banks of the Indus.
Day-by-Day Breakdown of the Barah Broq Trek
Below is a map of the Barah Broq trek with a KML track overelain. Click here to download the full KML track.
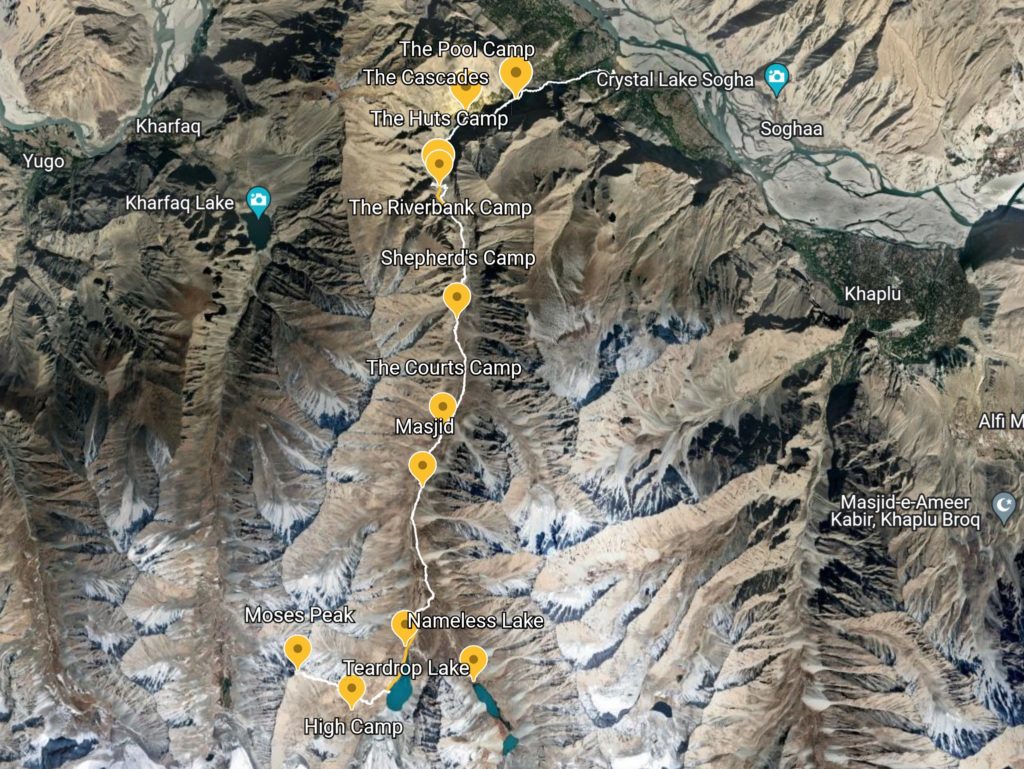
Day 1 – Camp 1
Starting elevation: 2500 meters
Altitude gain: 650-800 meters
Sleeping at: 3150-3300 meters
The first portion of the hike up Barah Broq is pretty straightforward with little to no difficult terrain. There will be plenty of shade the entire day and the path is very well defined in all but a few places. The trail is frequently used by local shepherds as is evident by the many empty shepherds’ huts you’ll see along the way.
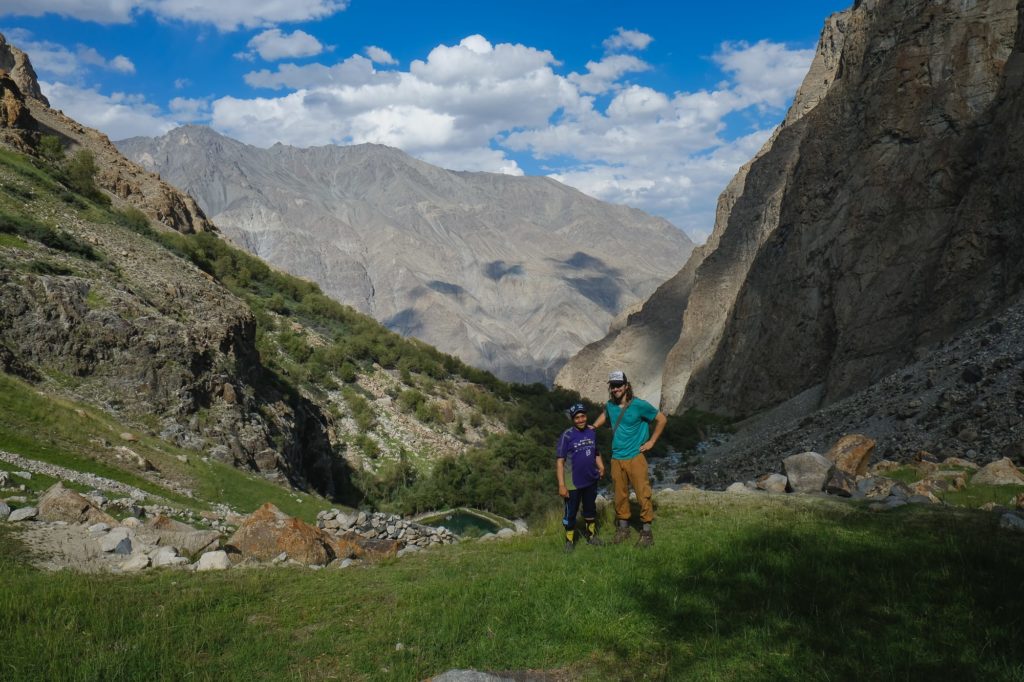
Make your way up, always with the river on your left. Avoid veering too far to the right (towards the valley wall). You will be walking along canals very often and some hopping is required to keep your feet from getting wet.
After about 2-3 hours of walking, you will come to a large, colorful pond and a rock wall. This is one potential place to sleep.
Where to sleep?
There is no definite “Camp 1”. Several places could be considered as such and each is more suitable depending on various conditions, such as weather and group size. The following are the most common places people sleep on the first day:
- The Pool (3150 meters) – A large-ish pond with some very blue water. This spot is the lowest in elevation of the three but offers the most comfort and usable space. Great for larger groups.
- The Huts (3300 meters) – About 45-60 minutes walk from The Pool are a series of old, terraced huts built into the side of the valley. When the ground at The Riverbank is flooded (which it usually is), these shacks are the best alternative. If it’s raining though, the slopes will be very muddy and slippery. You can sleep either inside the huts (they’re quite dirty) or on top of them as the roofs are flat and strong. If you choose the latter, BE CAREFUL walking around at night so you don’t fall off.
- The Riverbank (3300 meters) – Just after The Huts and right next to the river. You’ll know you’ve arrived when you see the wooden gate. Typically, this is the usual place to sleep but only if the conditions are right. Most of the time, the ground is completely soaked. Space is also very limited. Not ideal for groups.
Day 2 – Shepherds Camp and “The Courts”
Starting elevation: 3150-3300 meters
Altitude gain: 850-1000 meters
Sleeping at: 4150 meters
Day 2 is quite different from Day 1. The landscape changes dramatically as lush apricot groves gives way to a narrow, barren canyon covered in juniper and wild herbs. One might even think they were hiking in the American Southwest. The difficulty of hiking also increases.
Depending on where you slept the night before, you could be gaining anywhere from 850 to 1000 meters meters in elevation. Most of it is gained over a single steep section directly after The Riverbank Camp.
The hike up the hill can be quite brutal for some. It is dusty, steep, rarely flat, and totally bereft of shade. An early start is vital to avoid the intense afternoon sun beating down on you, which usually penetrates the valley wall around 10 am.
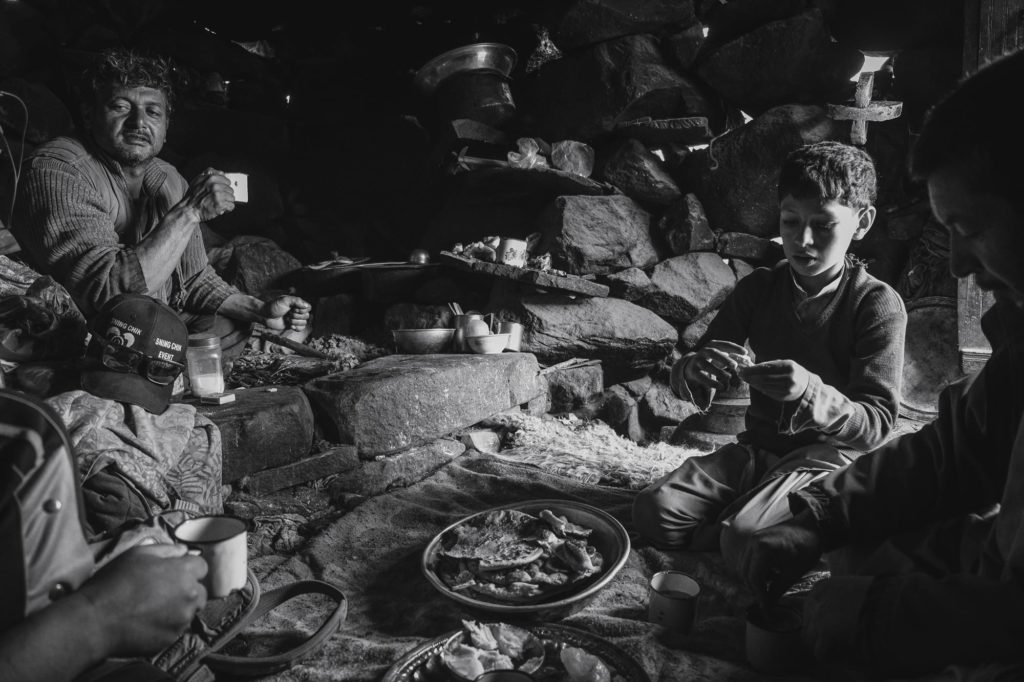
You’ll know the worst is over once the incline becomes gentler and you enter a large boulder field with patches of grass. Just above the boulder field is a shepherd’s camp. This is a good place to have a snack, some tea, or lunch.
The local shepherds are accommodating and will share fresh yogurt, butter, or salty Balti tea. Having a Balti-speaking guide helps to organize these things. It is considered respectful to give some rupees for the hospitality. I usually donate socks in addition because the shepherds always have festering blisters on their feet due to poor footwear.
After the Shepherd’s Camp
Beyond the shepherd’s camp, there isn’t much distance until the next camp. Follow the path up, being sure to cross the river, before exiting through another wooden gate. The rest of the way is a mix of boulder and grassy terrain, but always gentle in incline.
As you walk, you will see many fine places to set up camp, with flat ground and easy access to water. I find the open area before the local mosque* is the best (see KML track). There is lots of open space and a nice rockpool nearby that can be used by bolder hikers in need of a swim. If there is enough time, we usually like to play a game of mountain bocci (if we can find rocks spherical enough). It’s a great pastime and is the primary reason why we have come to call this spot “The Courts”.
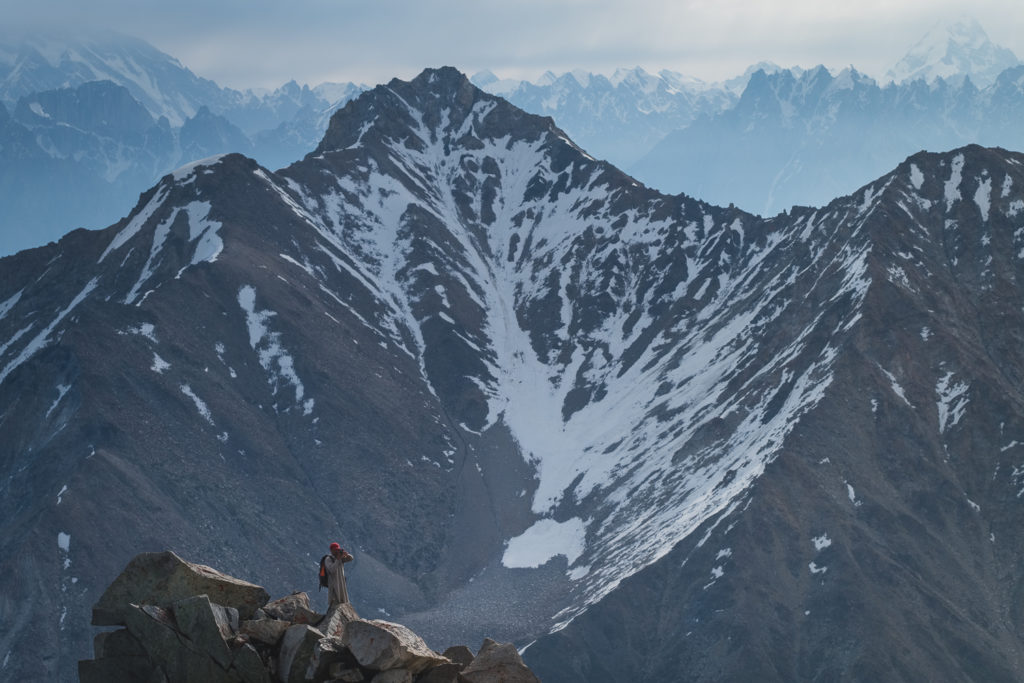
Looking back down the valley, you will be afforded the first panoramic views of the Central Karakoram National Park. The views only get better from here.
* The mosque in question is very rustic is quite reverred by the locals. Despite being a potentially great place to make camp, doing so is highly frowned upon. If you attempt to camp here, you most likely be asked to move elsewhere by a passing local or an attendant at the mosque.
Day 3 – Teardrop Lake or High Camp
Starting elevation: 4100 meters
Altitude gain: 600-800 meters
Sleeping at: 4700 or 4900 meters
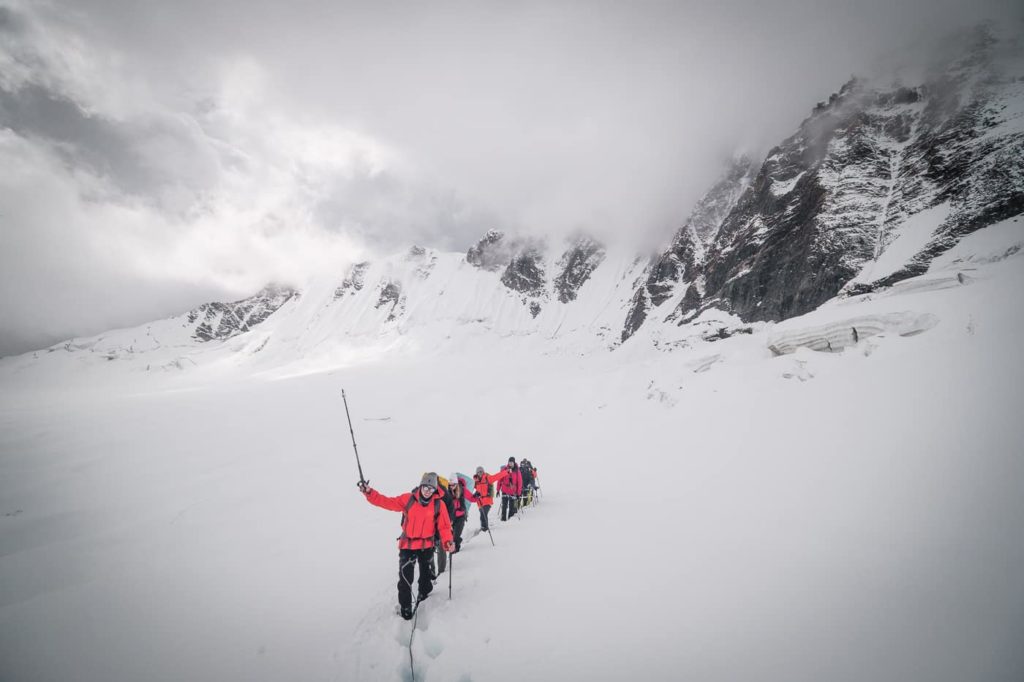
A relatively moderate day of hiking with one final steep section if you choose to stay at High Camp. Again, the landscape changes quite profoundly as the dusty valley opens into wide meadows. Today, you will also start to see real mountains and glaciers.
Departing from The Courts Camp, continue walking up the valley. Like the second half of the day before, the terrain is mostly gentle but there are larger and more frequent boulder fields to cover. Luckily, there are definite trails that you can follow through the rockpiles. Opt for the ones that are closer to the river on your right.
At a certain point, you will reach a large meadow where you can see two cirques: one on your left and another on the right. Both host an alpine lake. The cirque on the right is where you’ll be camping for the night.
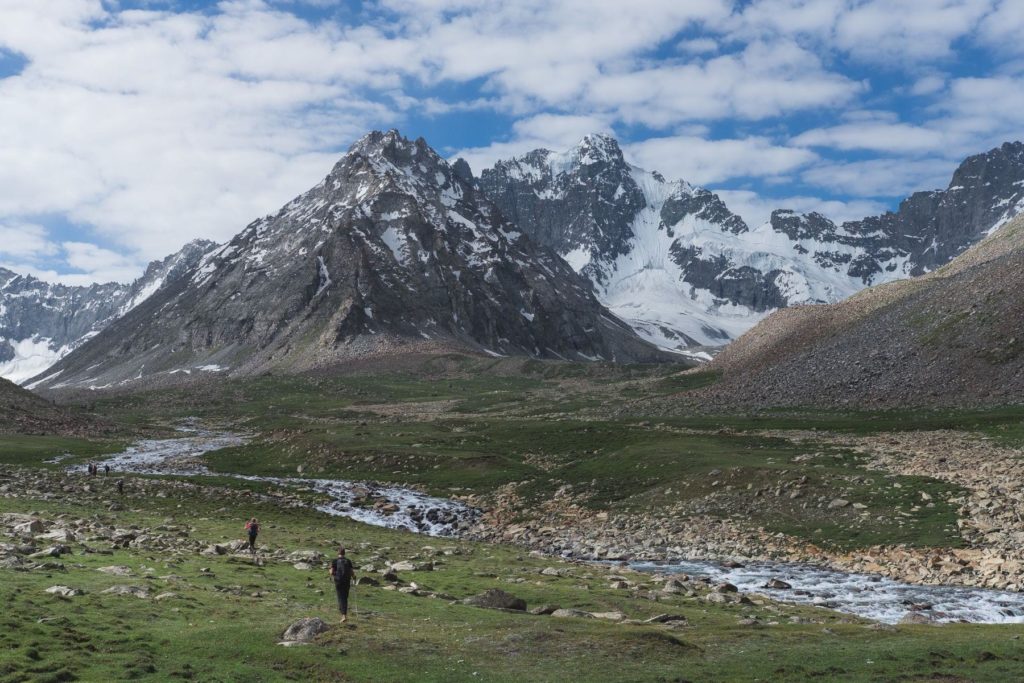
If you have the energy to spare though, feel free to make a side-trip to the cirque on the left as the lake here is quite spectacular. Set aside 2-3 hours to do this and avoid veering into the enormous boulder fields on the edges of the cirque (they’ll make your life that much harder).
From the cirque on the left, several small streams flow down to meet the larger river that you’ve been following the last few days. To get to the cirque on the right, you will need to cross these streams several times. Luckily, there are a lot of rocks that can be used to hop across.
After crossing these streams, aim slightly to the right – you will want to approach the cirque on its right edge. You will have to cross the much larger river flowing from the lake ahead in the process. Find a safe place to do so before arriving at the actual lake.
Once you’ve crossed the river and it’s on your left again, the lake should be just ahead. Upon arriving, you will be greeted by some of the bluest water you’ve ever seen and an amphitheater of jagged peaks. These alone would make the hike worthwhile.
There is some, but not a lot of, dry, flat ground on the edge of the lake that can be used for camping. Up above is Moses Peak.
High Camp
It is possible to sleep even higher up from the lakeside on the condition there is water up above. Sometimes – more so earlier in the summer – there are small streams and pools that form in the boulder fields from snowmelt. If there is water and you’re feeling good (no altitude-related issues) you should continue to High Camp. It will make the climb to Moses Peak that much easier.
Knowing if there is water or not is a bit of a dice roll. Most shepherds will not know since they don’t venture that far. Usually, we send a porter or the local guide up ahead to scout out the area in search of water while the rest of the group has lunch.
To get to High Camp, follow the lake’s edge on the right about halfway. After that, you will have to start scrambling up the side of the hill. There are several routes up the hill and any distinct path is quickly lost in the boulders. Consult your guide and make your way slowly up, being wary of falling rocks and twisted ankles. Total altitude gain for this portion is around 200 meters.
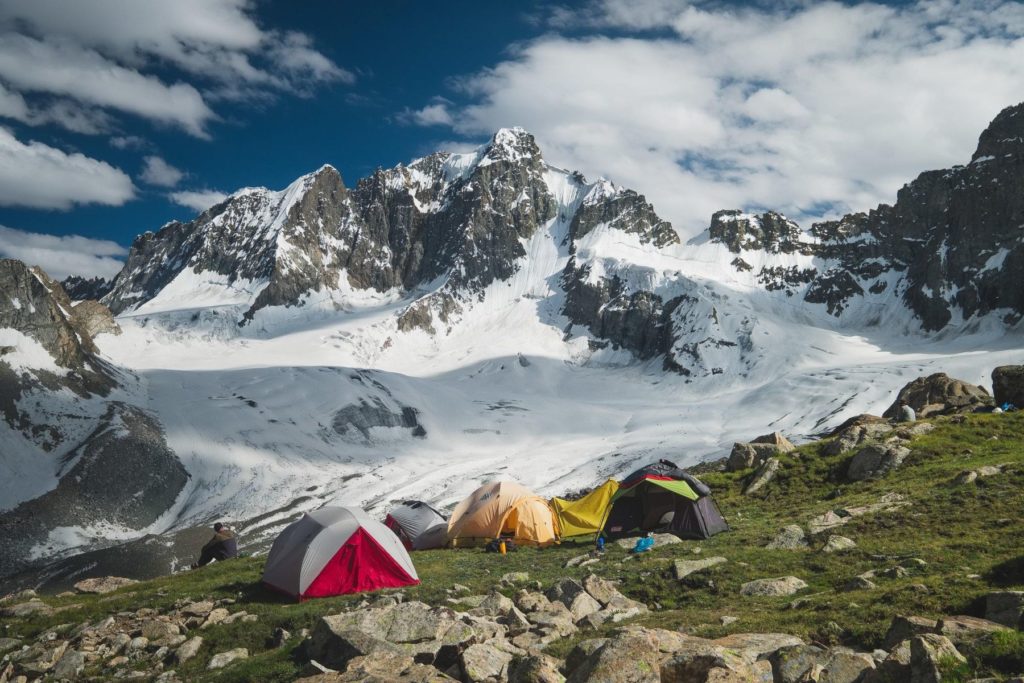
Be sure to look back a few times as you climb. You will get a bird’s eye view of the lake and understand why we call it “Teardrop Lake”. If the sun is out, it will be shining and incredibly colorful.
Once you get to the top of the hill, the terrain flattens out, but the boulders remain in excess. There are a couple of open, grassy spaces wide enough to host a group of tents due southwest of Teardrop Lake, but remember to choose a place where water is close by.
No matter where you choose to sleep, you will have a front-row view of the jagged peaks across the lake and valley. Conveniently, you will also have to climb 200 meters less the next day to summit Moses Peak.
Day 4 – Moses Peak
Starting elevation: 4700-4900meters
Altitude gain: 400-600 meters
Sleeping at: 4100 or 4700 meters
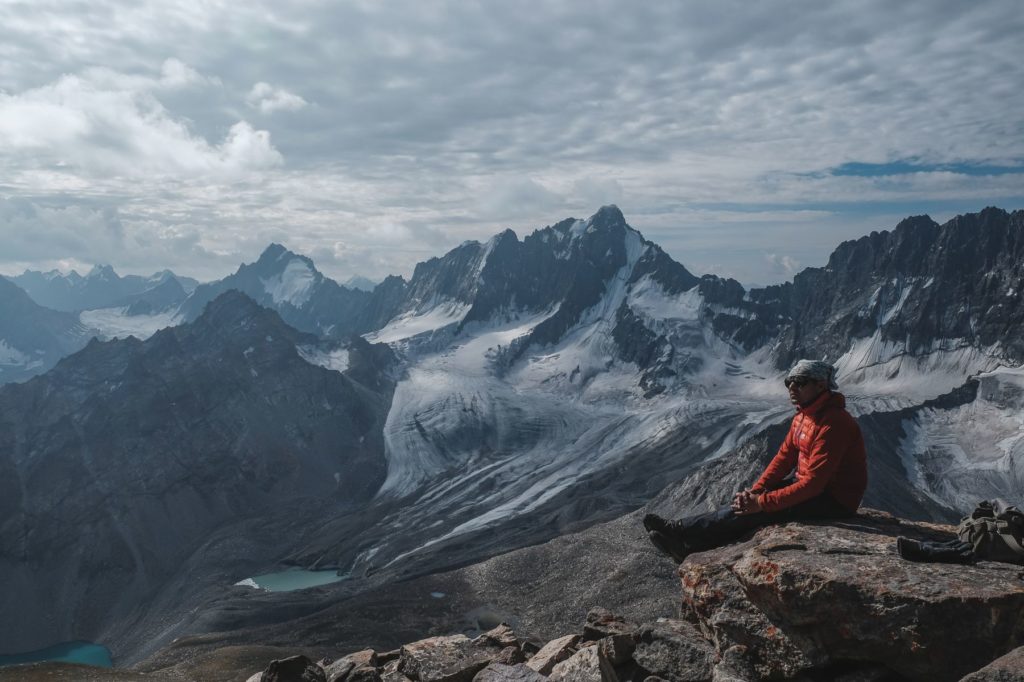
Summit day. Today is going to be a big one, but it’s nothing that a fit and experienced hiker can’t handle.
From High Camp, it usually takes around 3-4 hours to climb to the top of Moses Peak. If you start from Teardrop Lake, add on an extra 60-90 minutes.
You should plan to arrive at the summit before 9:00. The early morning hours are the clearest and offer the best chances of seeing K2. After 9:00, clouds often roll in and the weather becomes more unpredictable. A proper alpine start is required to arrive before this time. Set an alarm for 3:00 at the latest and depart by 4:00.
Those wanting to see the sunrise from the top of Moses Peak will need to depart very early in the morning. In the summer, the sun rises between 4:45 and 5:45.
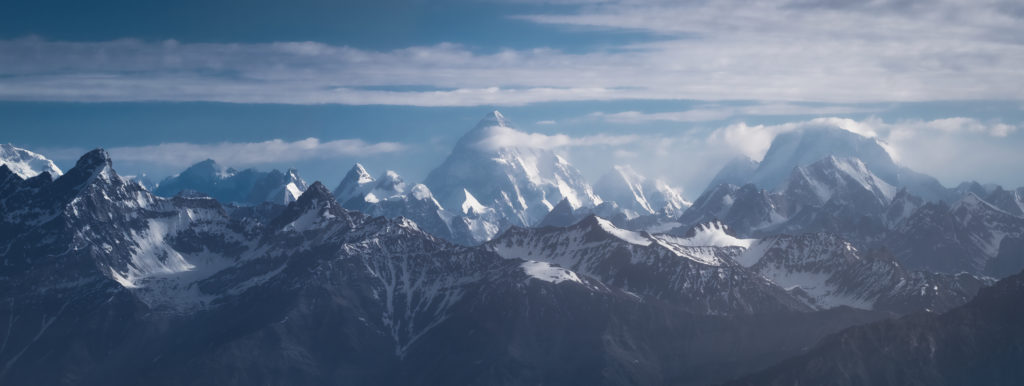
The climb up to Moses Peak is not technical and requires no special equipment. It does require a lot of boulder hopping though. There are no fewer than three large ones between High Camp and the summit – the first in particular should be navigated with extreme care.
There is no set route up to the top of Moses Peak. In all of my climbs there, I have never taken the same way twice. There are some general directions you should follow though:
- From High Camp, try to climb the first boulder field via the more southwestern ridge. The slope is gentler and the boulder hopping is less intense.
- Once you hit the grassy part, head northeast up the slope until you reach the next ridgeline.
- From there, turn northwest and head directly up the rest of the way, crossing two more boulder fields and being cautious of the ridge’s edge. The summit will be clearly visible.
Once you’ve made it to the summit, find a nice rock and enjoy the views! Be careful as the altitude can make some feel a bit dizzy. Spend an hour or two enjoying your success before heading back down the way you came towards camp.
Where to sleep?
Upon finishing the climb to Moses Peak, there are a few options when it comes to camping that night:
- You can stay at the same place you slept the night before. This is ideal if you slept lower down at Teardrop Lake.
- You can pack up and walk down the valley a bit, most likely to Camp 3 aka The Courts. This is more practical if you slept at High Camp the previous night. To walk all the way from High Camp to Barah would be a long (but still doable) day.
Day 5 – Return to Barah
Time to head back to the village! Going down is much quicker and easier than going up. Depending on where you depart from – High Camp, Teardrop Lake, or somewhere further down – total walking time will be between 5-7 hours. The route is the exact same down as up.
Upon arriving in Barah, get ready for a delicious lunch in a local home or hit the road back to Skardu. Either way, feel free to relax a bit. You just completed a pretty epic hike!
Want to Join Us on a Trek to Barah Broq?
We do the Barah Broq trek every year on our Trekking Amongst Giants trip. We are one of the few Western tour companies that feature it (or even know about it for that matter) and think of it as one of the most brilliant hidden gems in Pakistan.
If you’d like to join us on our mission to Barah Broq, please feel free to reach out to us! You can either submit an inquiry on the tour page itself or use the form on our contact page.
See you guys out there on the trails and happy hiking!
